| May 2024 |
|---|
| Sun |
Mon |
Tue |
Wed |
Thu |
Fri |
Sat |
| |
|
|
1 |
2 |
3 |
4 |
| 5 |
6 |
7 |
8 |
9 |
10 |
11 |
| 12 |
13 |
14 |
15 |
16 |
17 |
18 |
| 19 |
20 |
21 |
22 |
23 |
24 |
25 |
| 26 |
27 |
28 |
29 |
30 |
31 |
|
|
|
Simplest (Dado) Jig Ever
So, I was looking for a way to make precise dadoes without having to resort to a dado set or the router table, and I stumbled upon this little gem while scouring the interwebs.
It's not only the simplest dado jig you'll ever make and use, but it's without a doubt the simplest JIG you'll ever make and use... period.
Here it is...
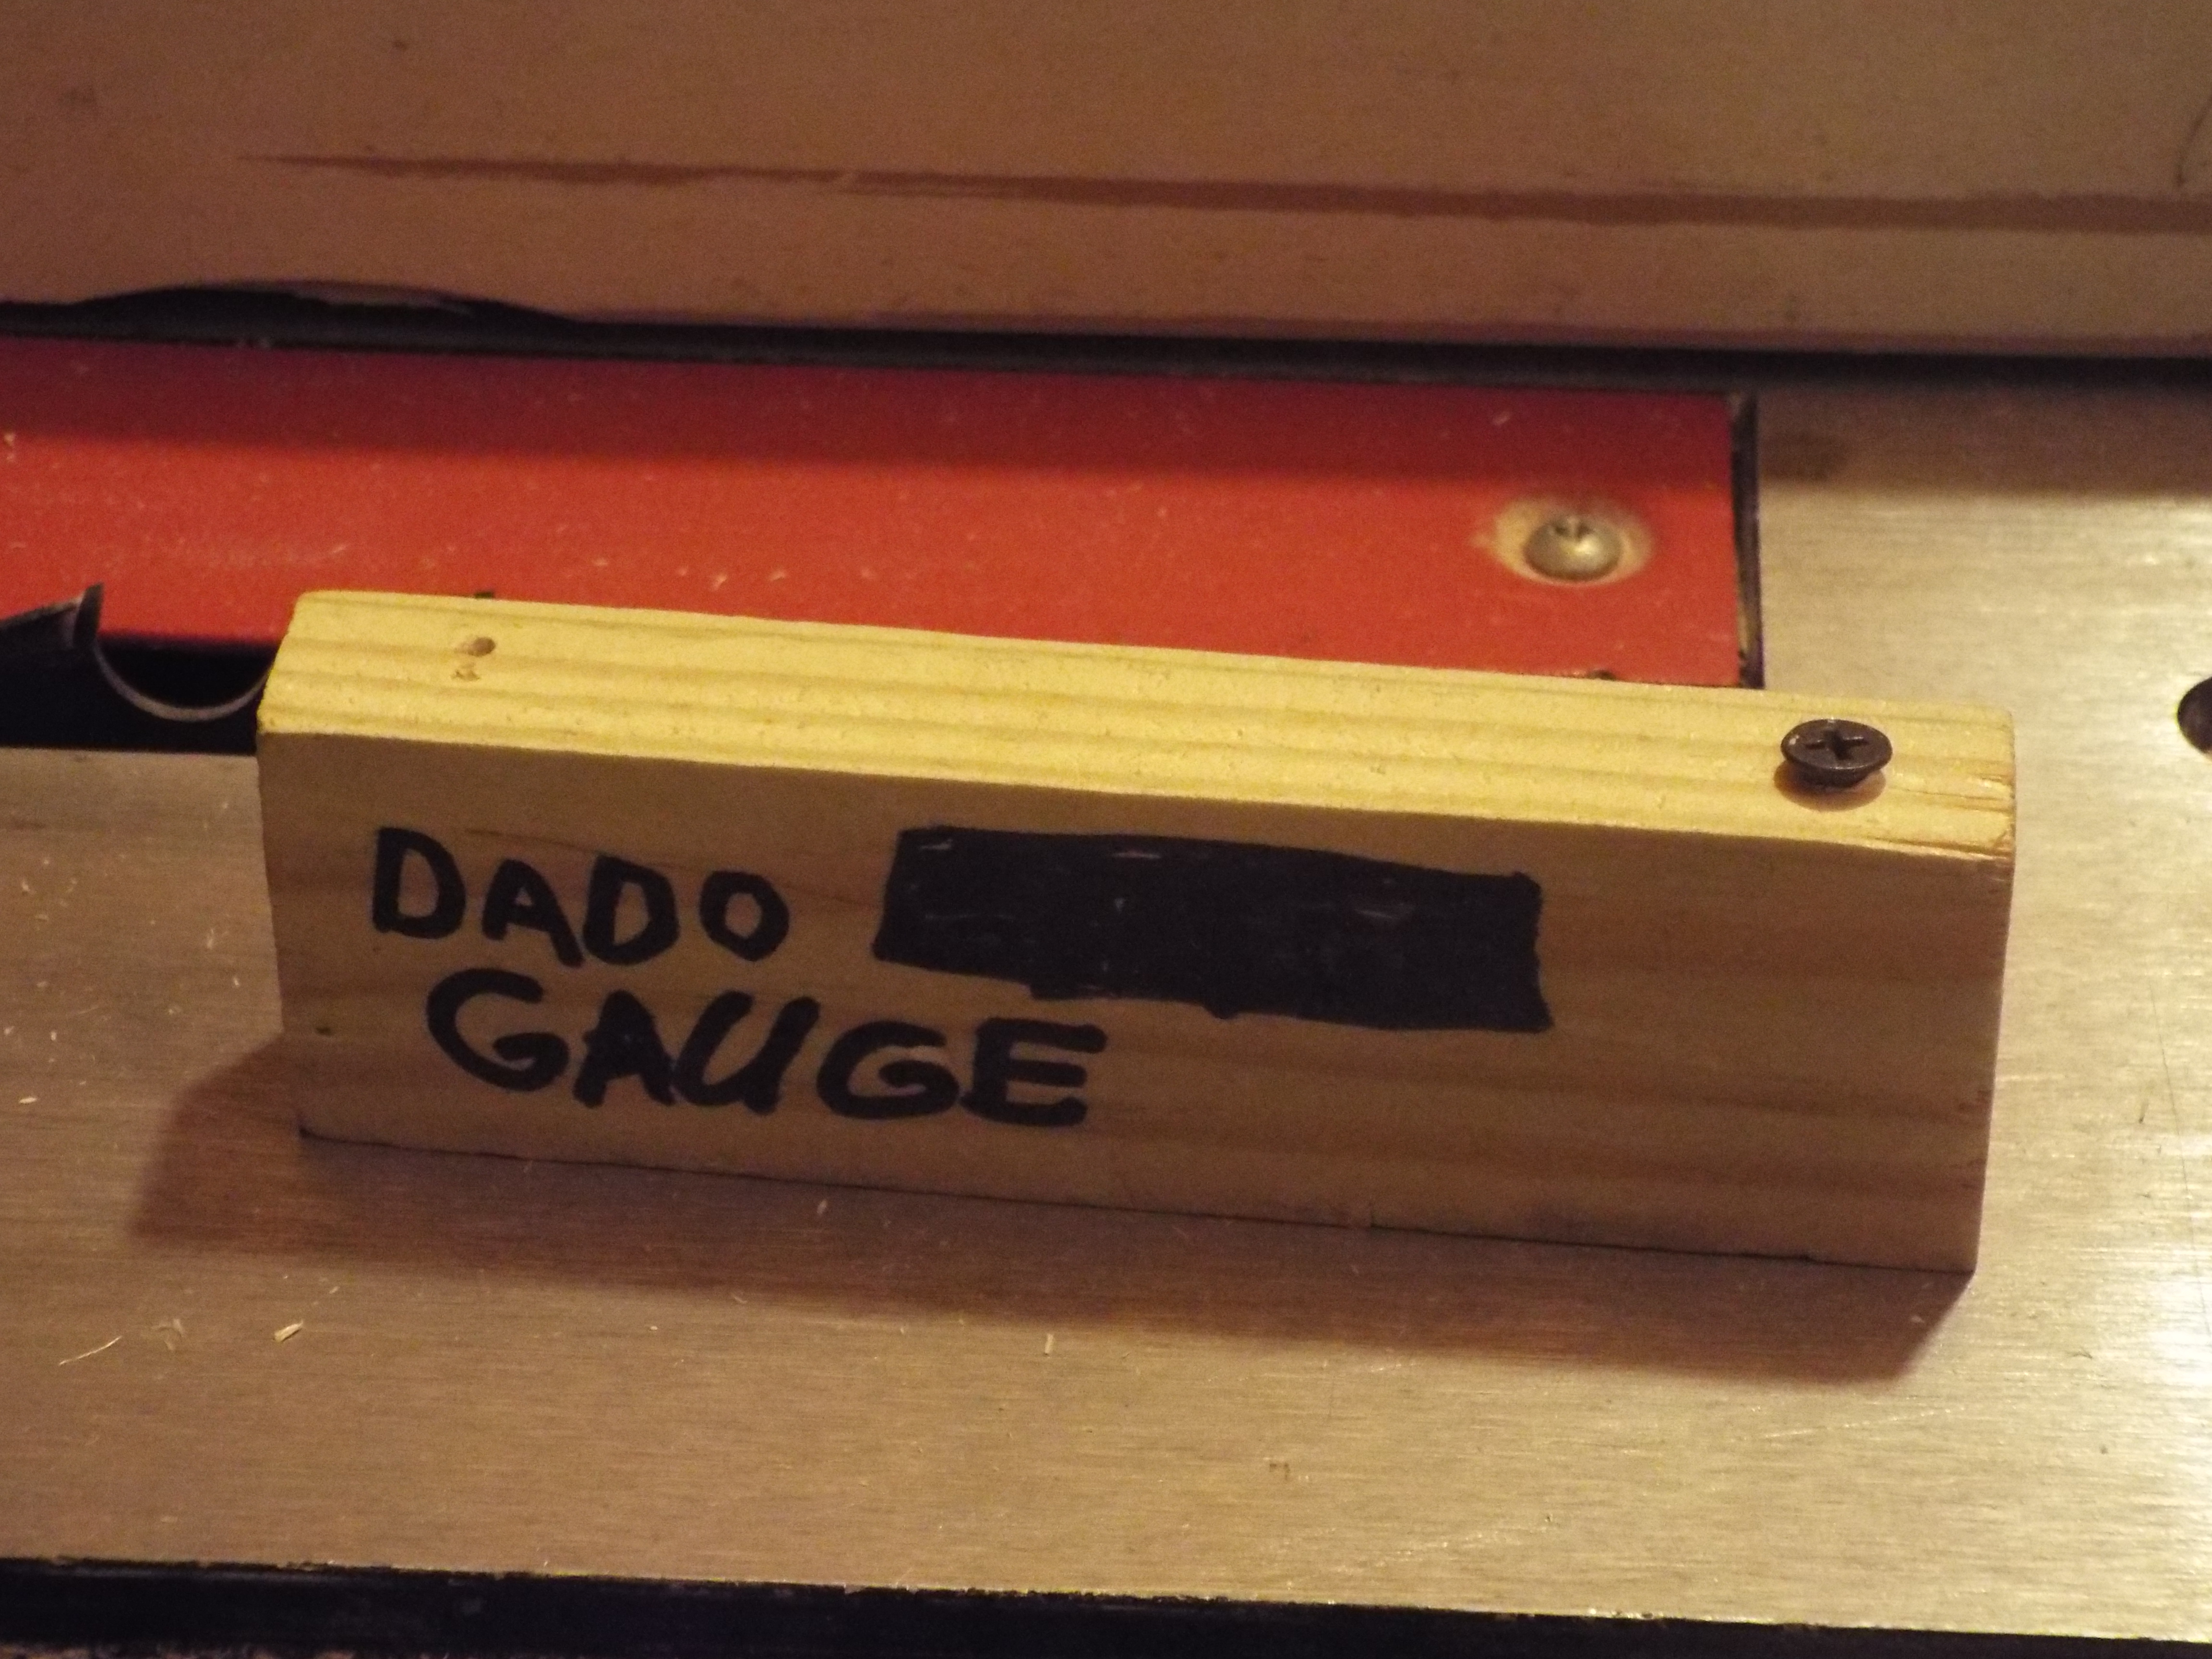
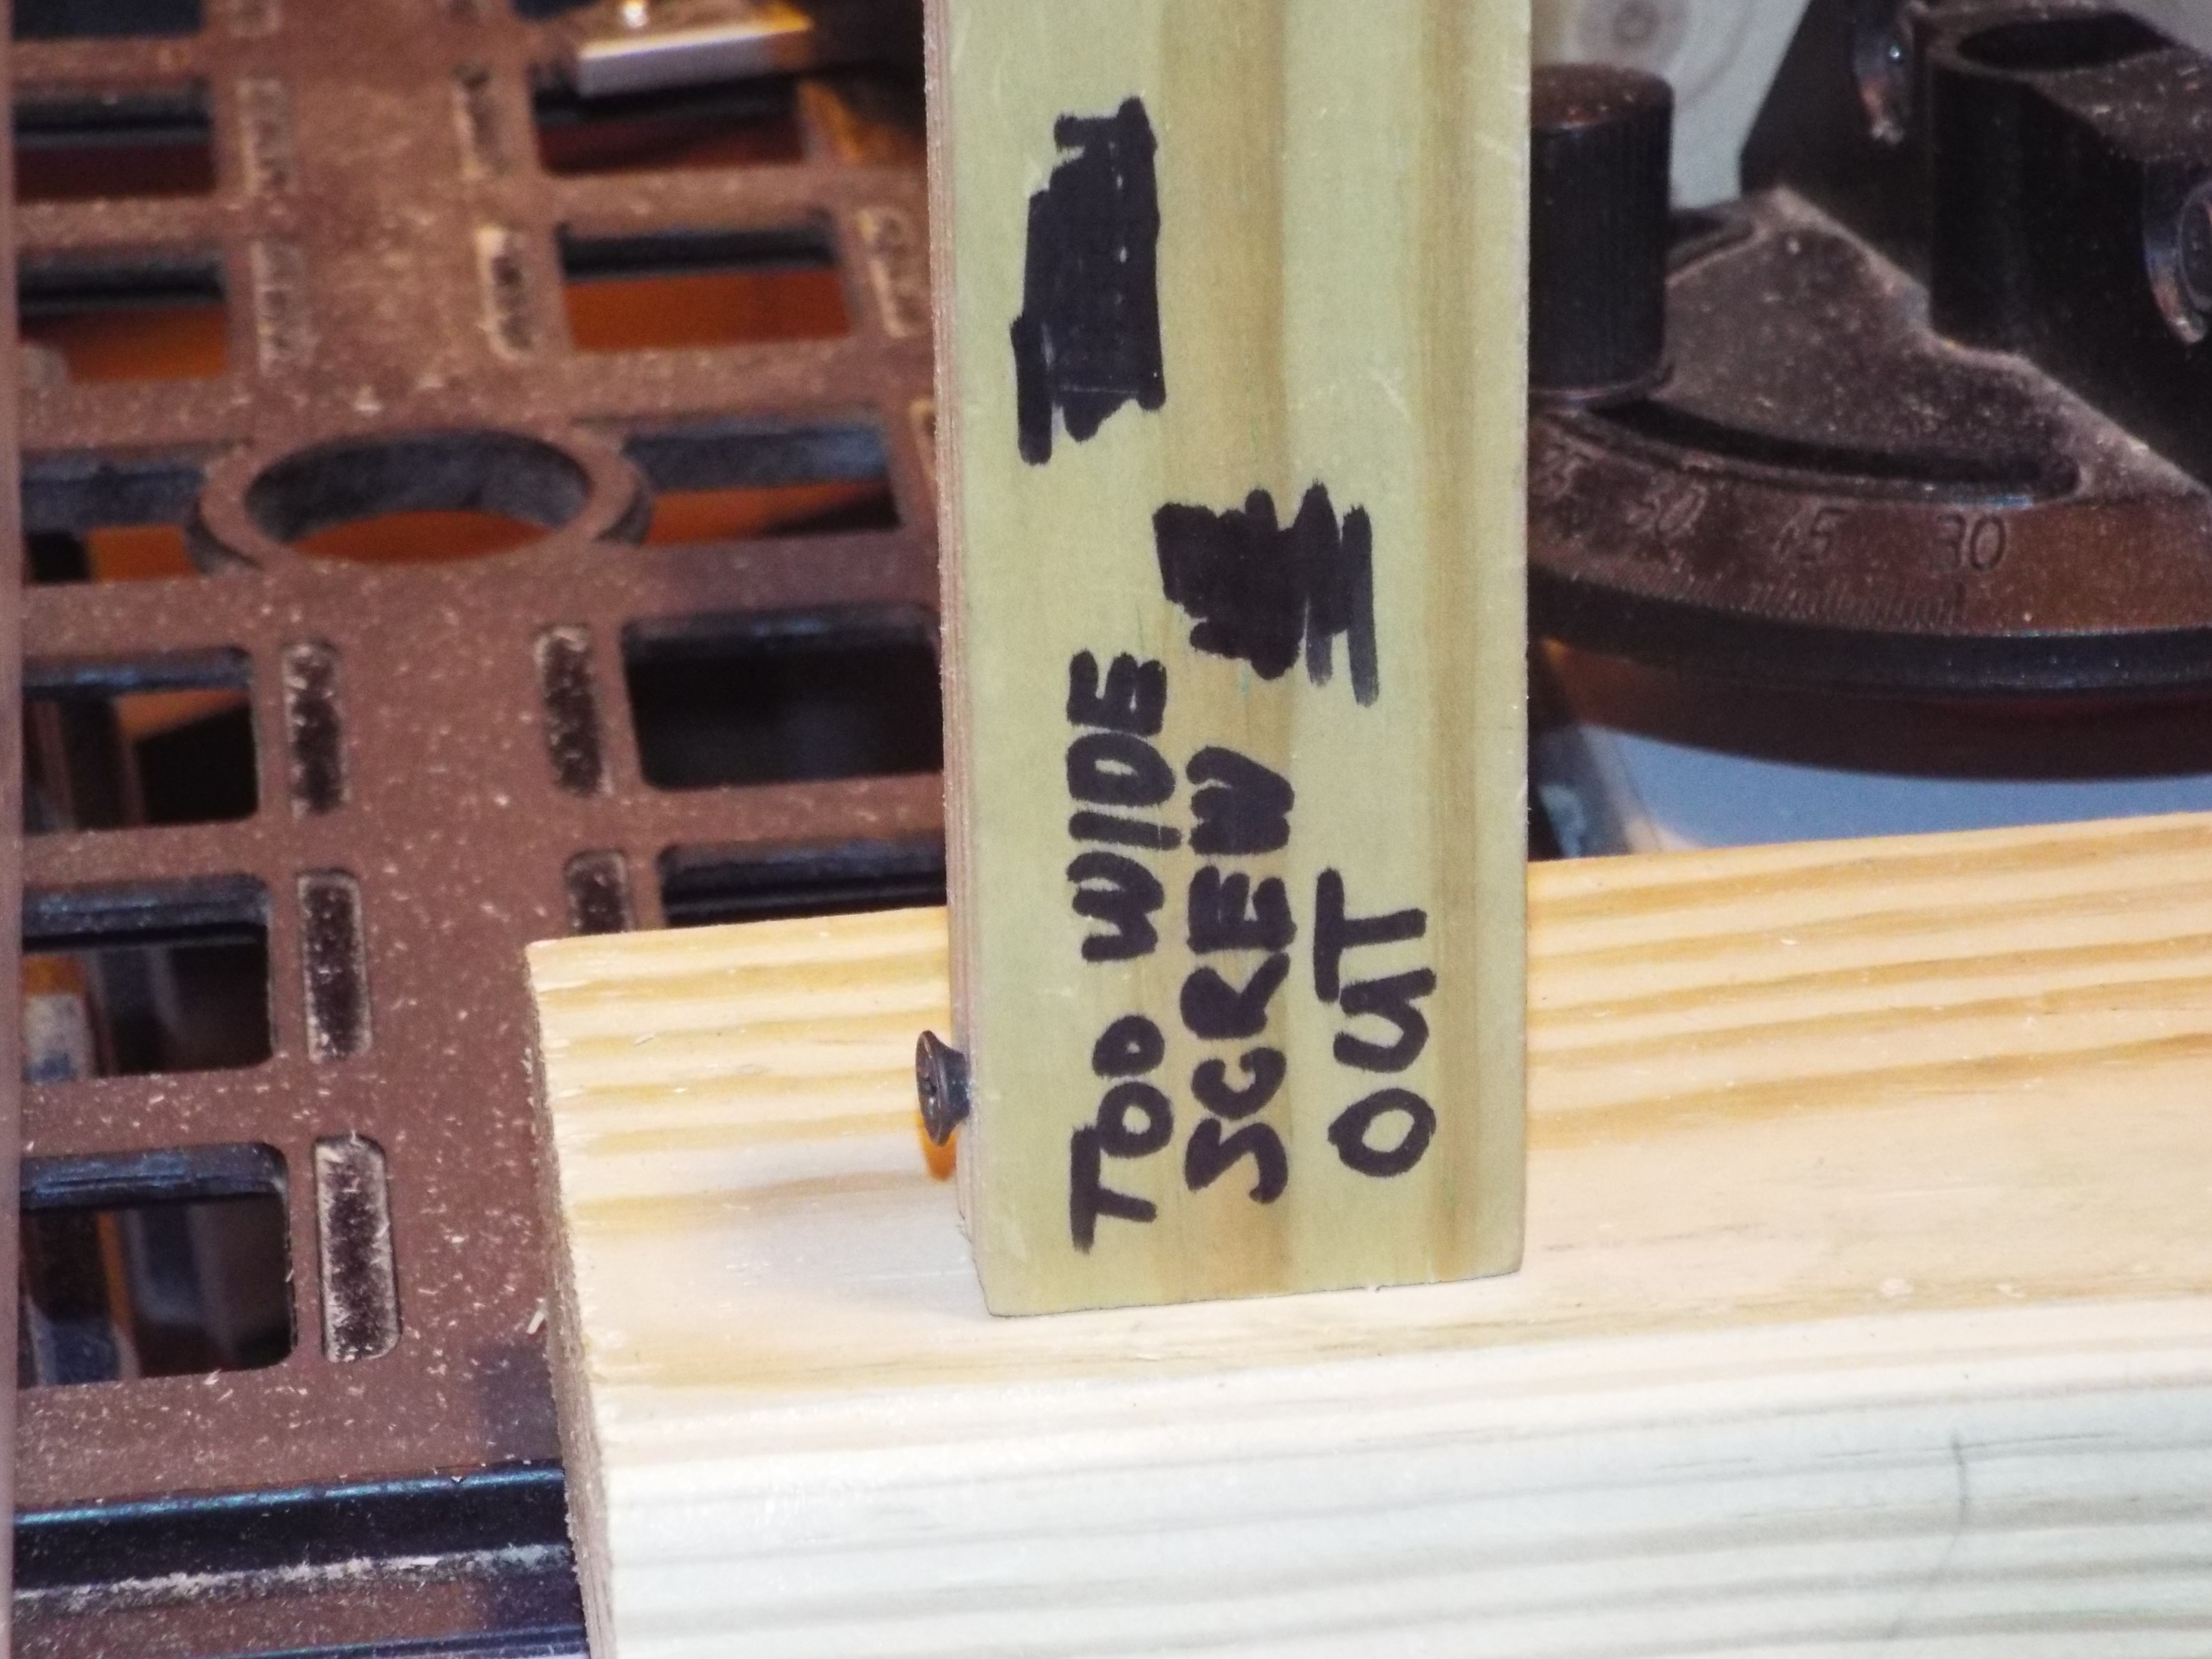
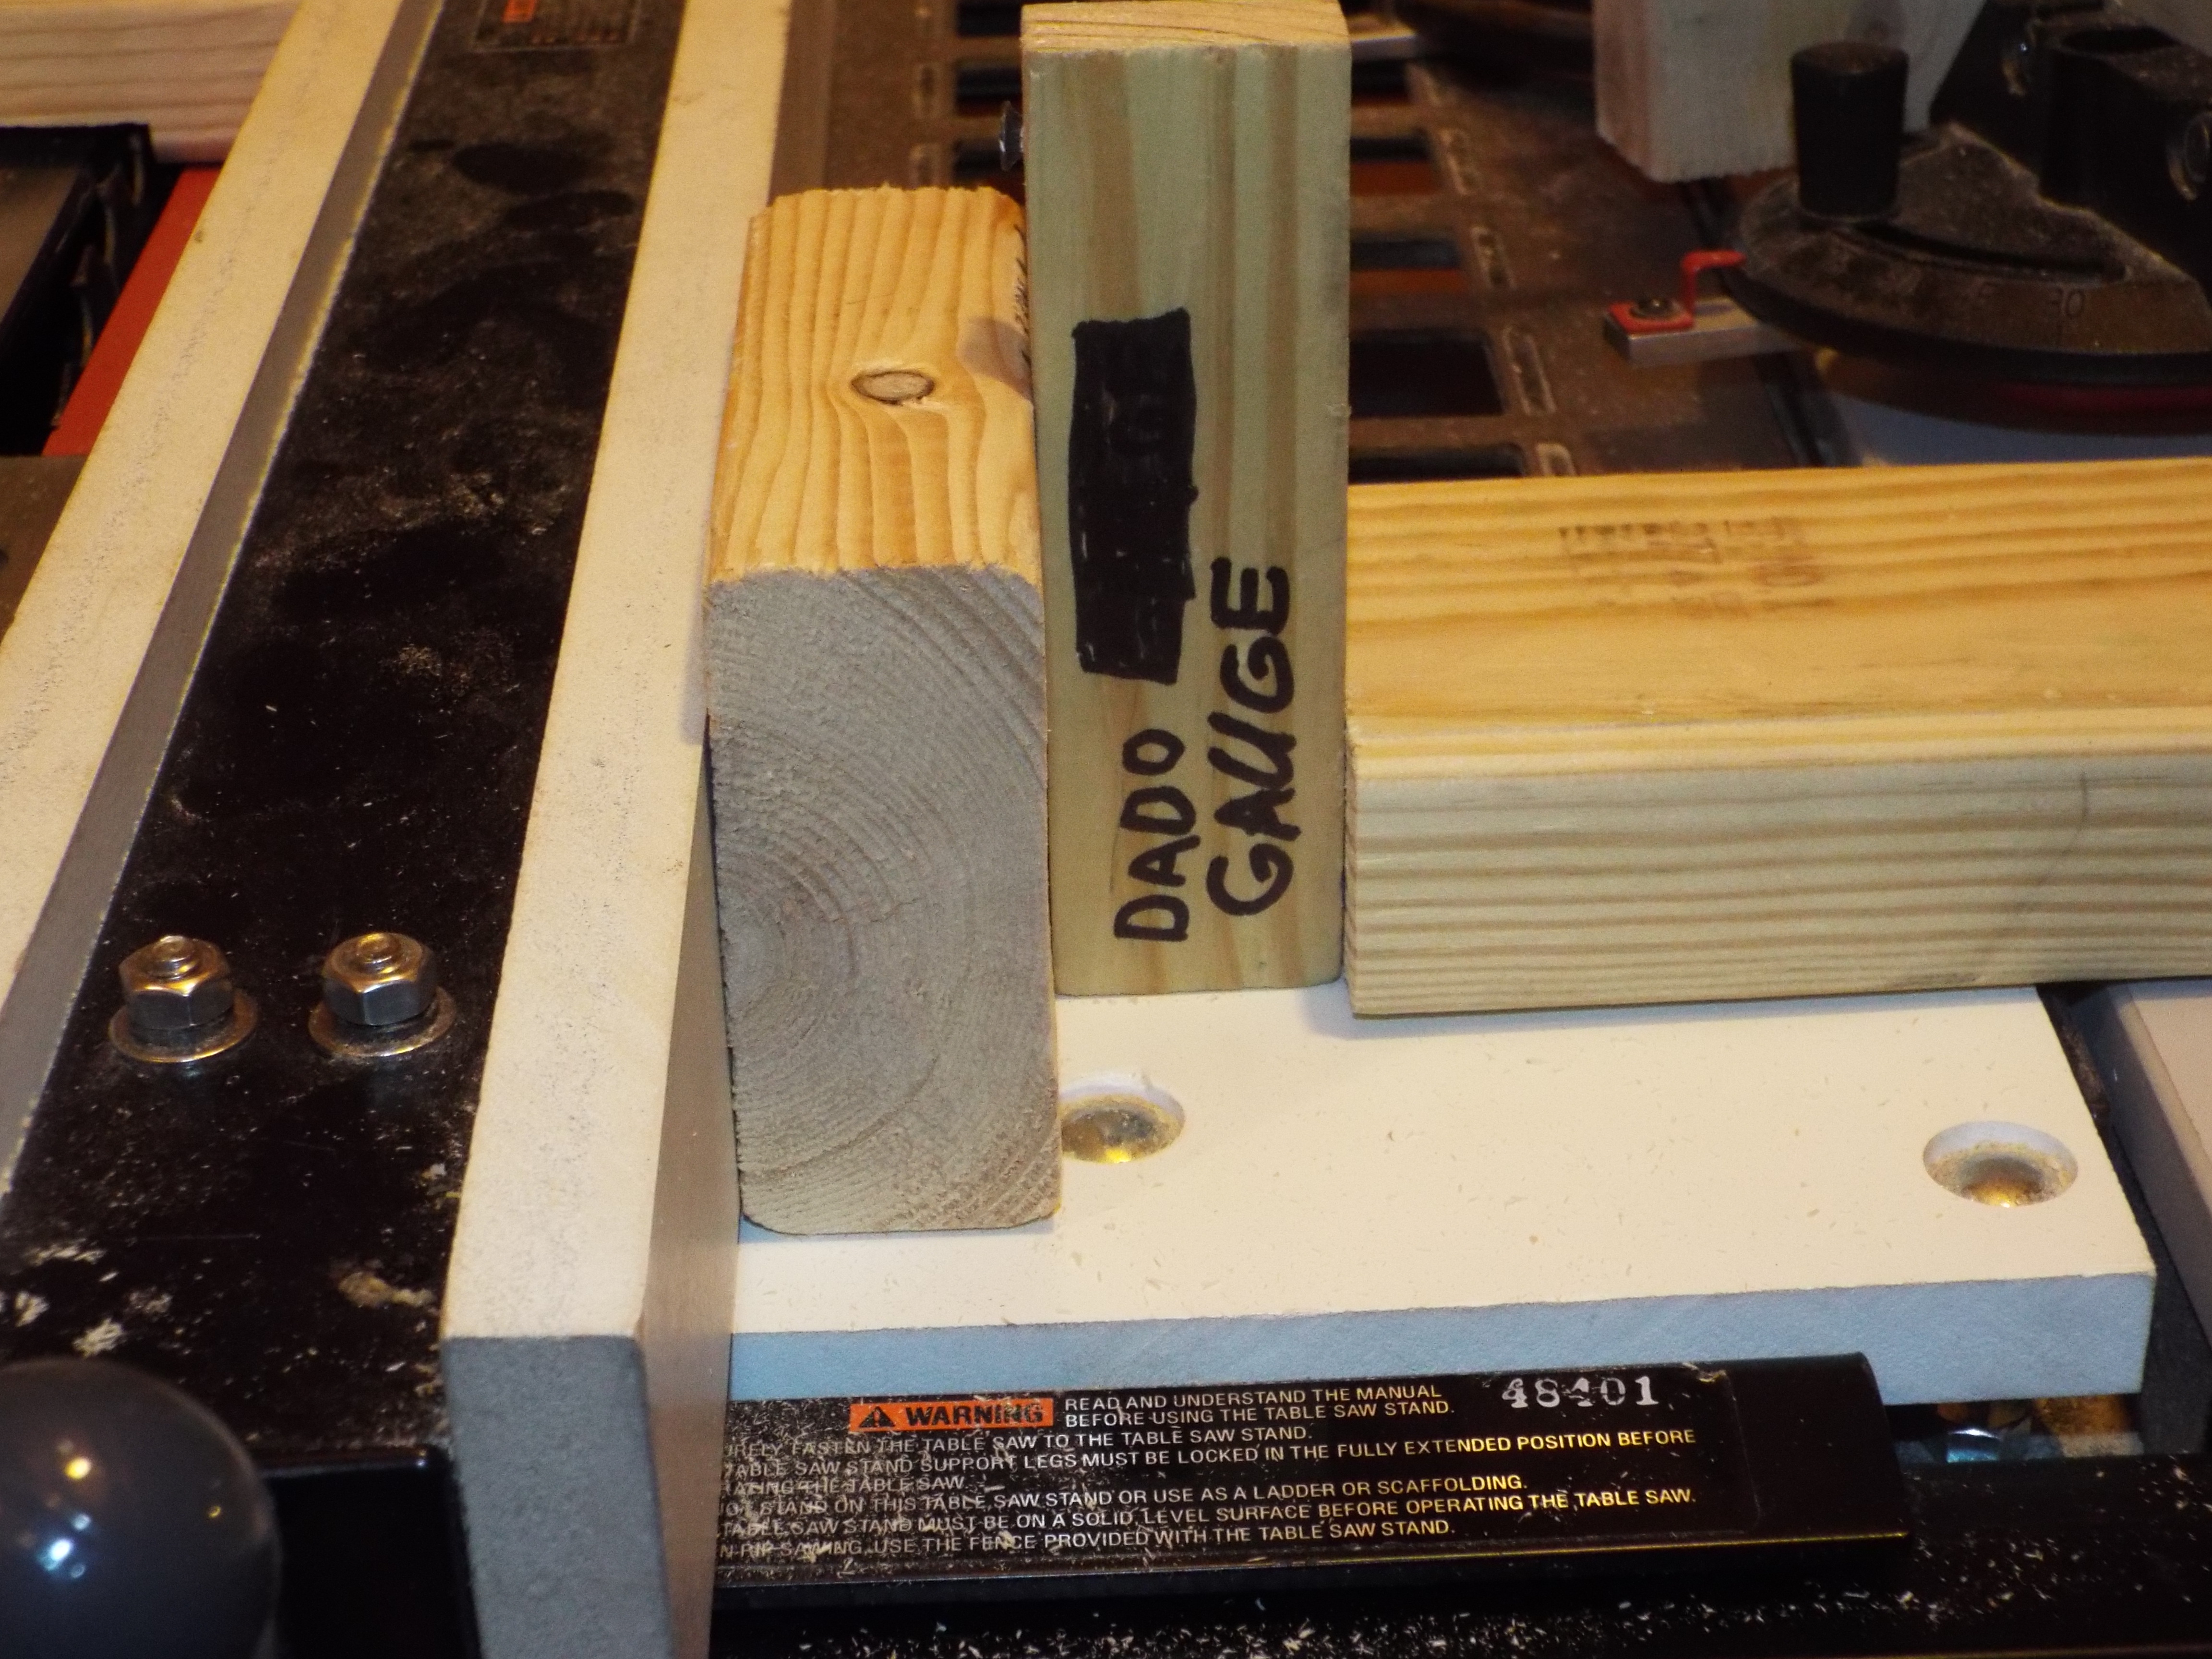
It's just a scrap rectangle with a single sheetrock screw embedded in one end, but it's so much more than that.
The purpose of the screw is to account for the thickness of your table saw blade. The blade doesn't really need to be anything special, but it should have square ground teeth such that one swipe cuts a flat bottomed kerf.
These are the steps required to cut a PERFECTLY sized dado...
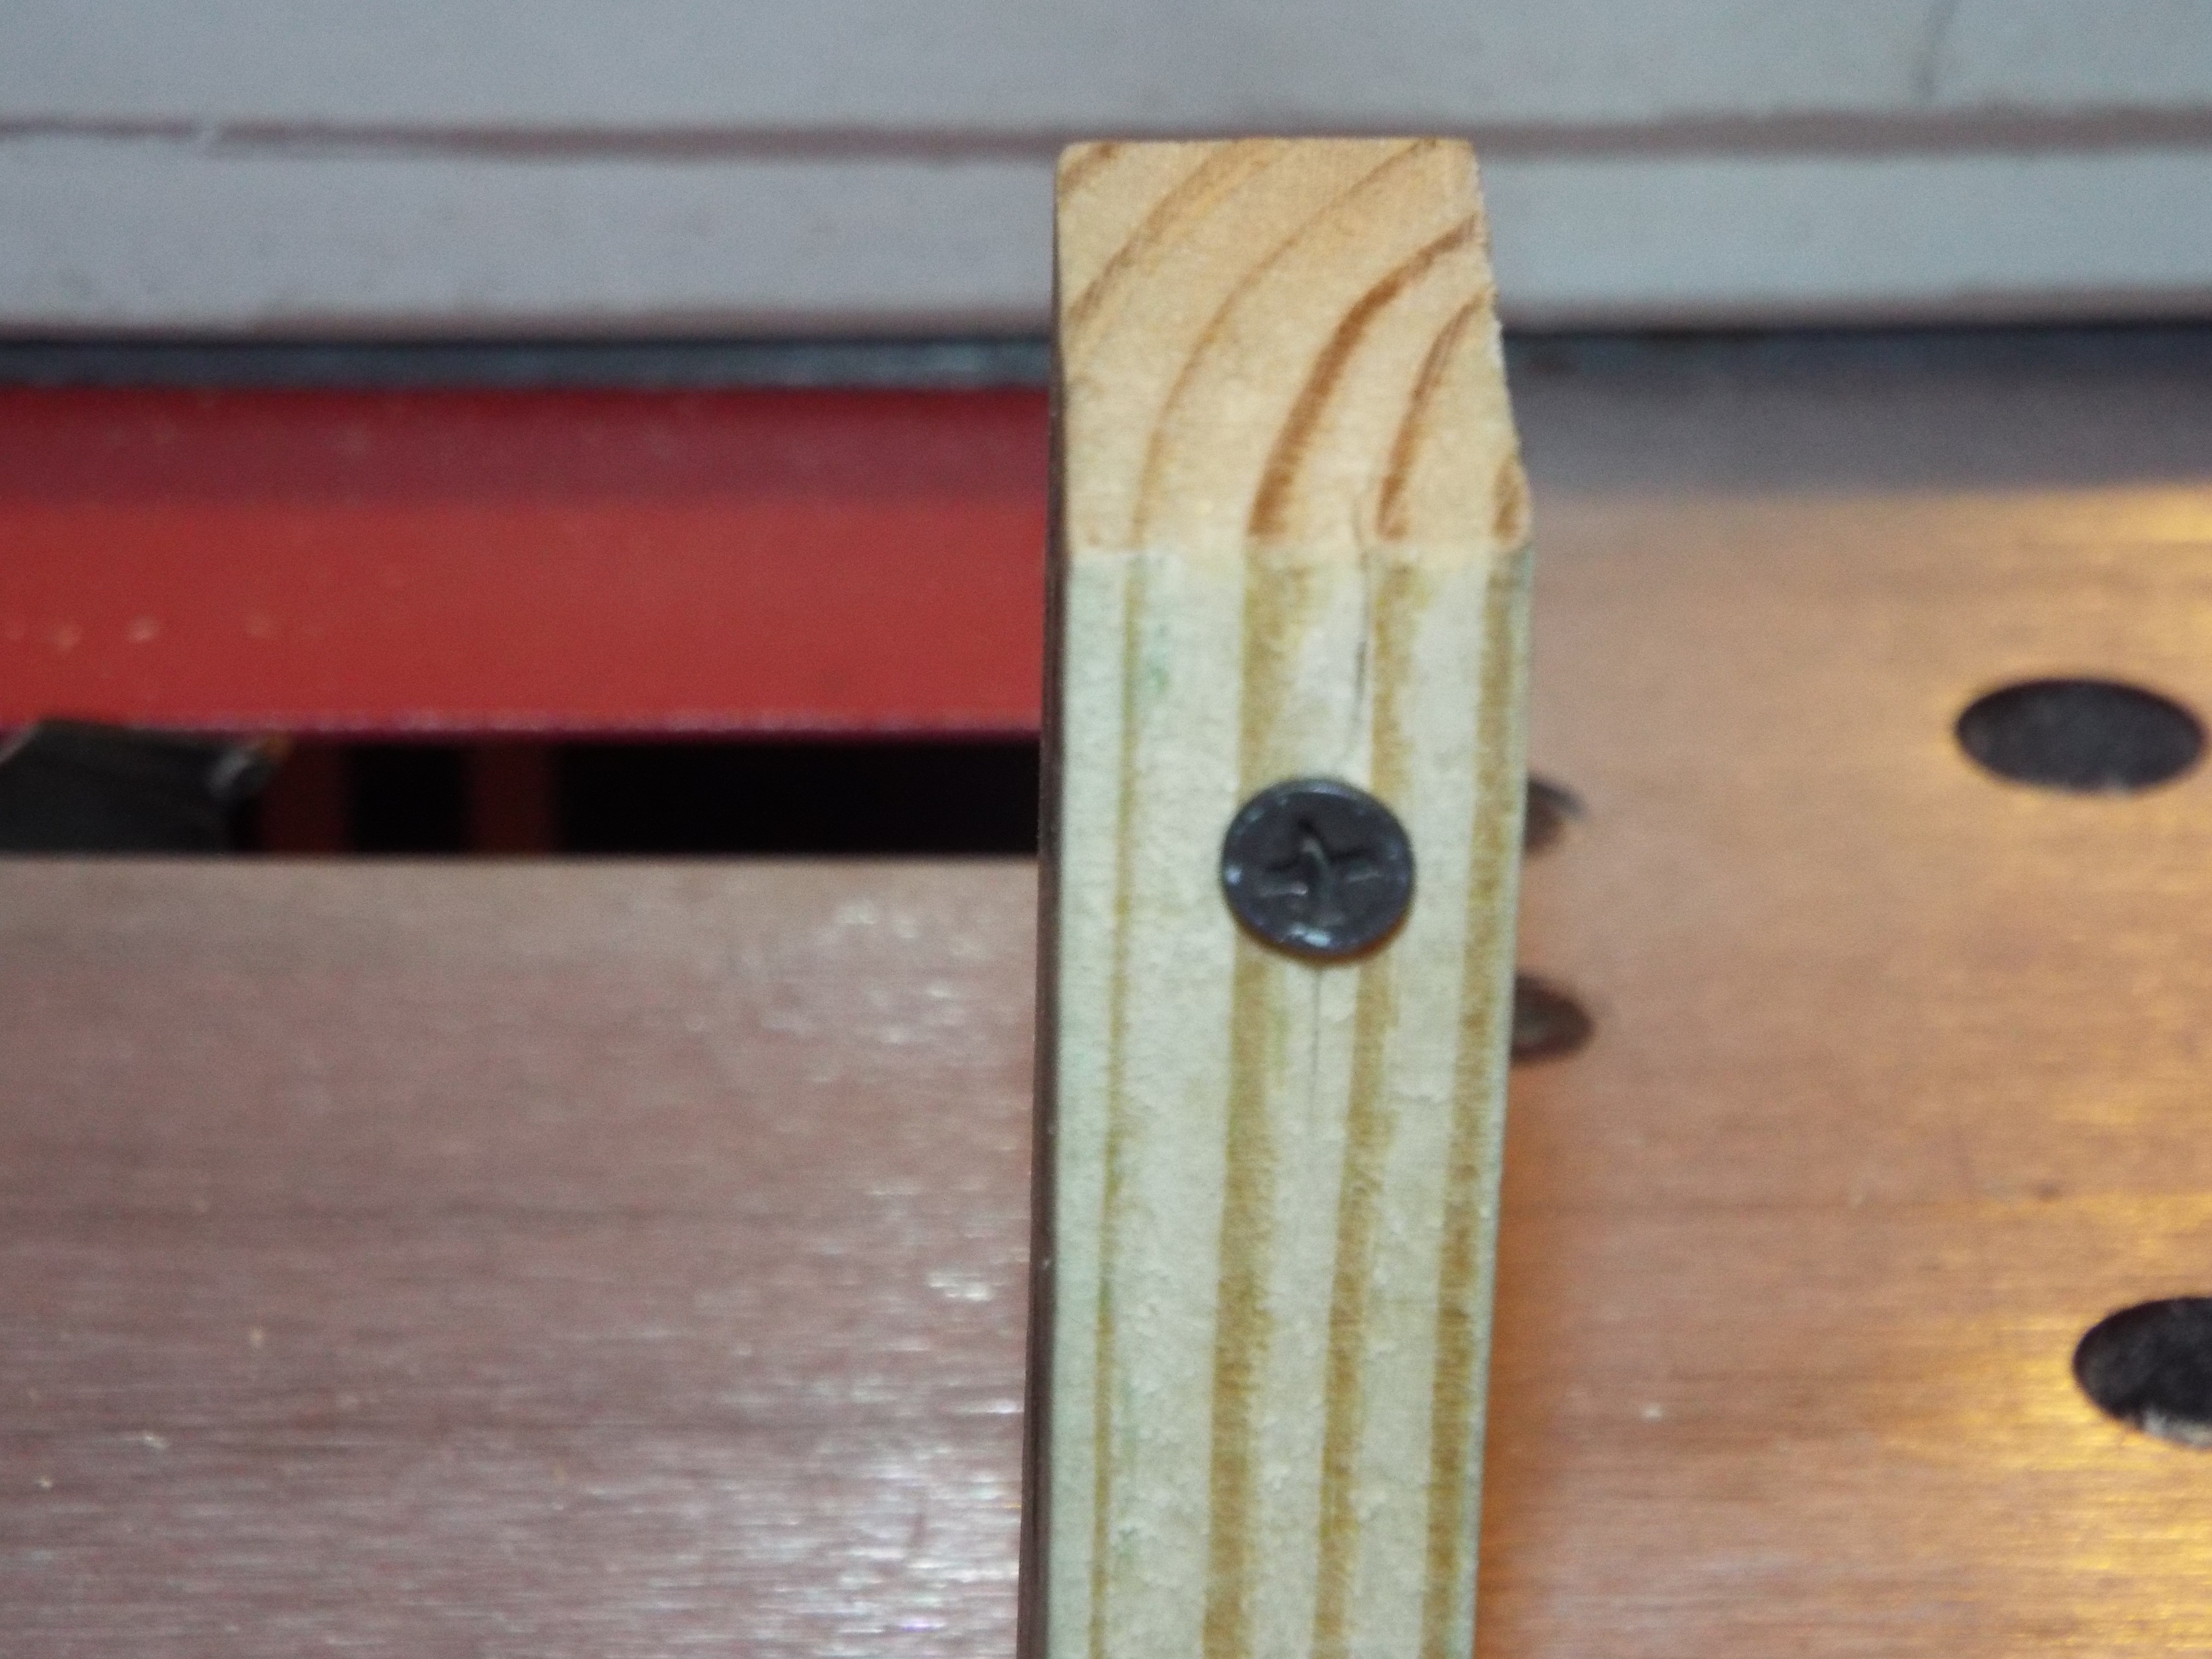
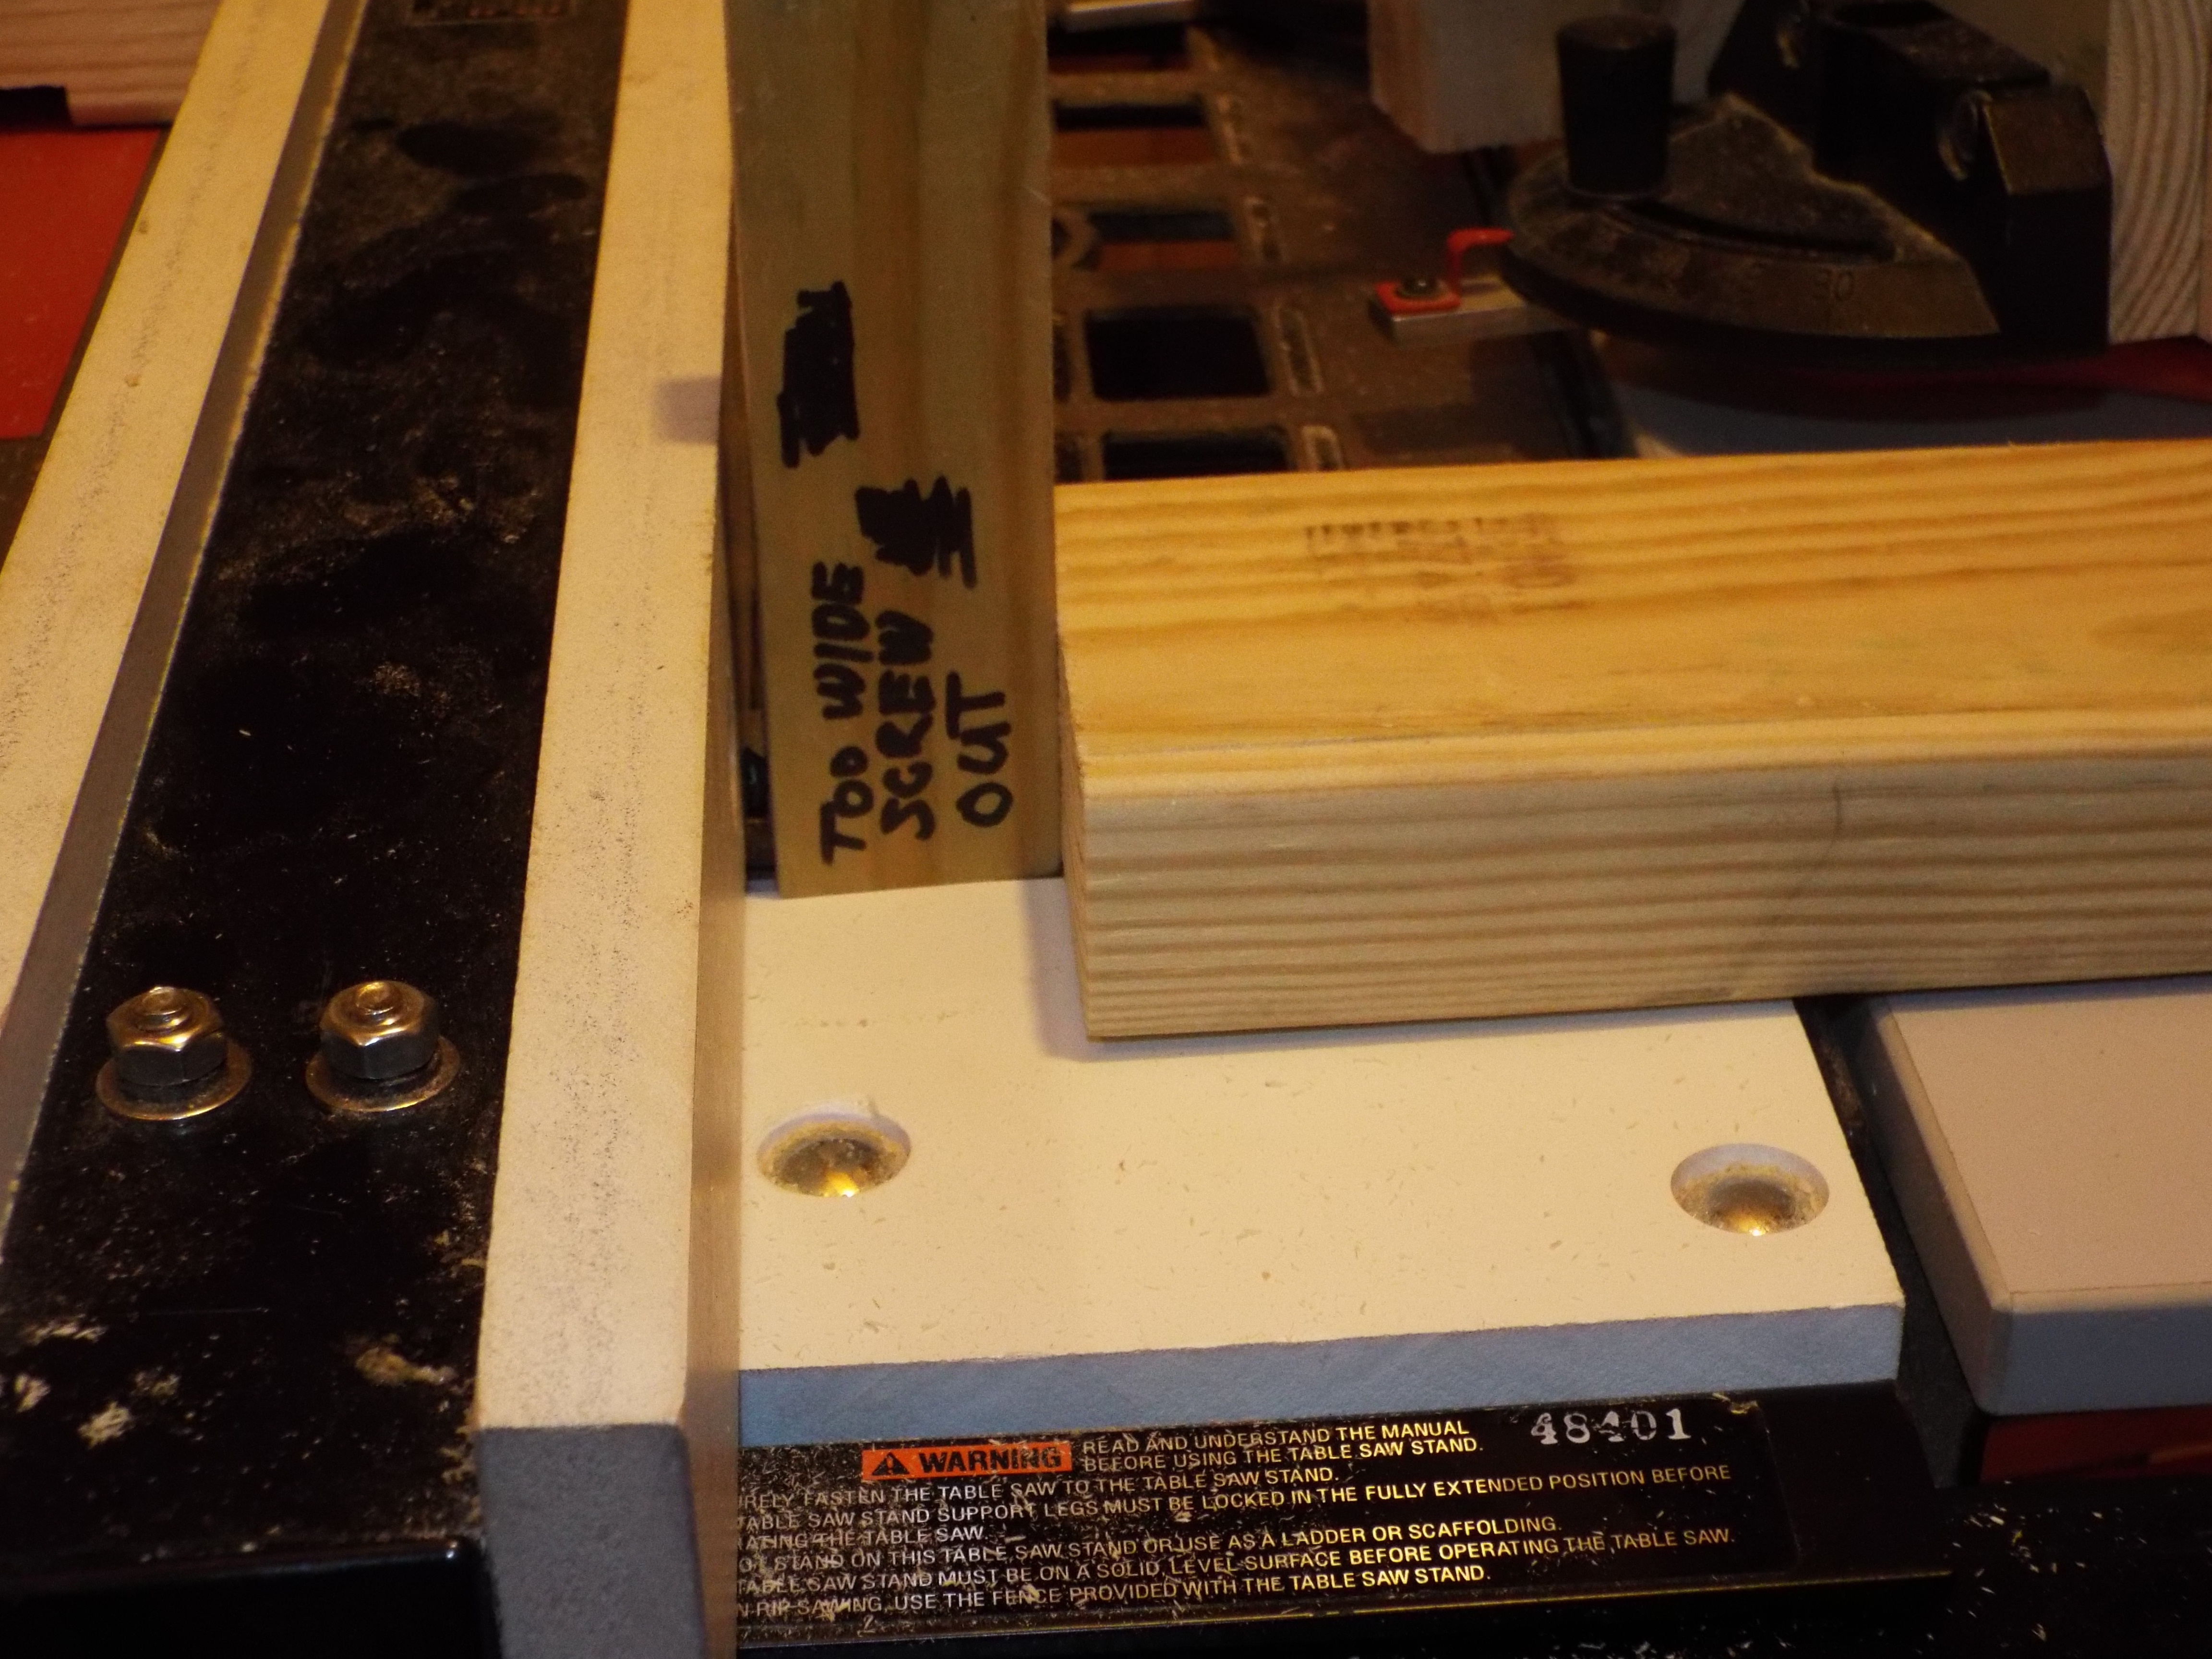
- Establish screw depth in dado jig, to match width of blade
- FIRST UNPLUG YOUR SAW
- Hold the jig up to your table saw blade, and adjust the screw in or out to match as closely as possible the width of a tooth on your table saw blade, to the distance from the scrap block to the flat screw head.
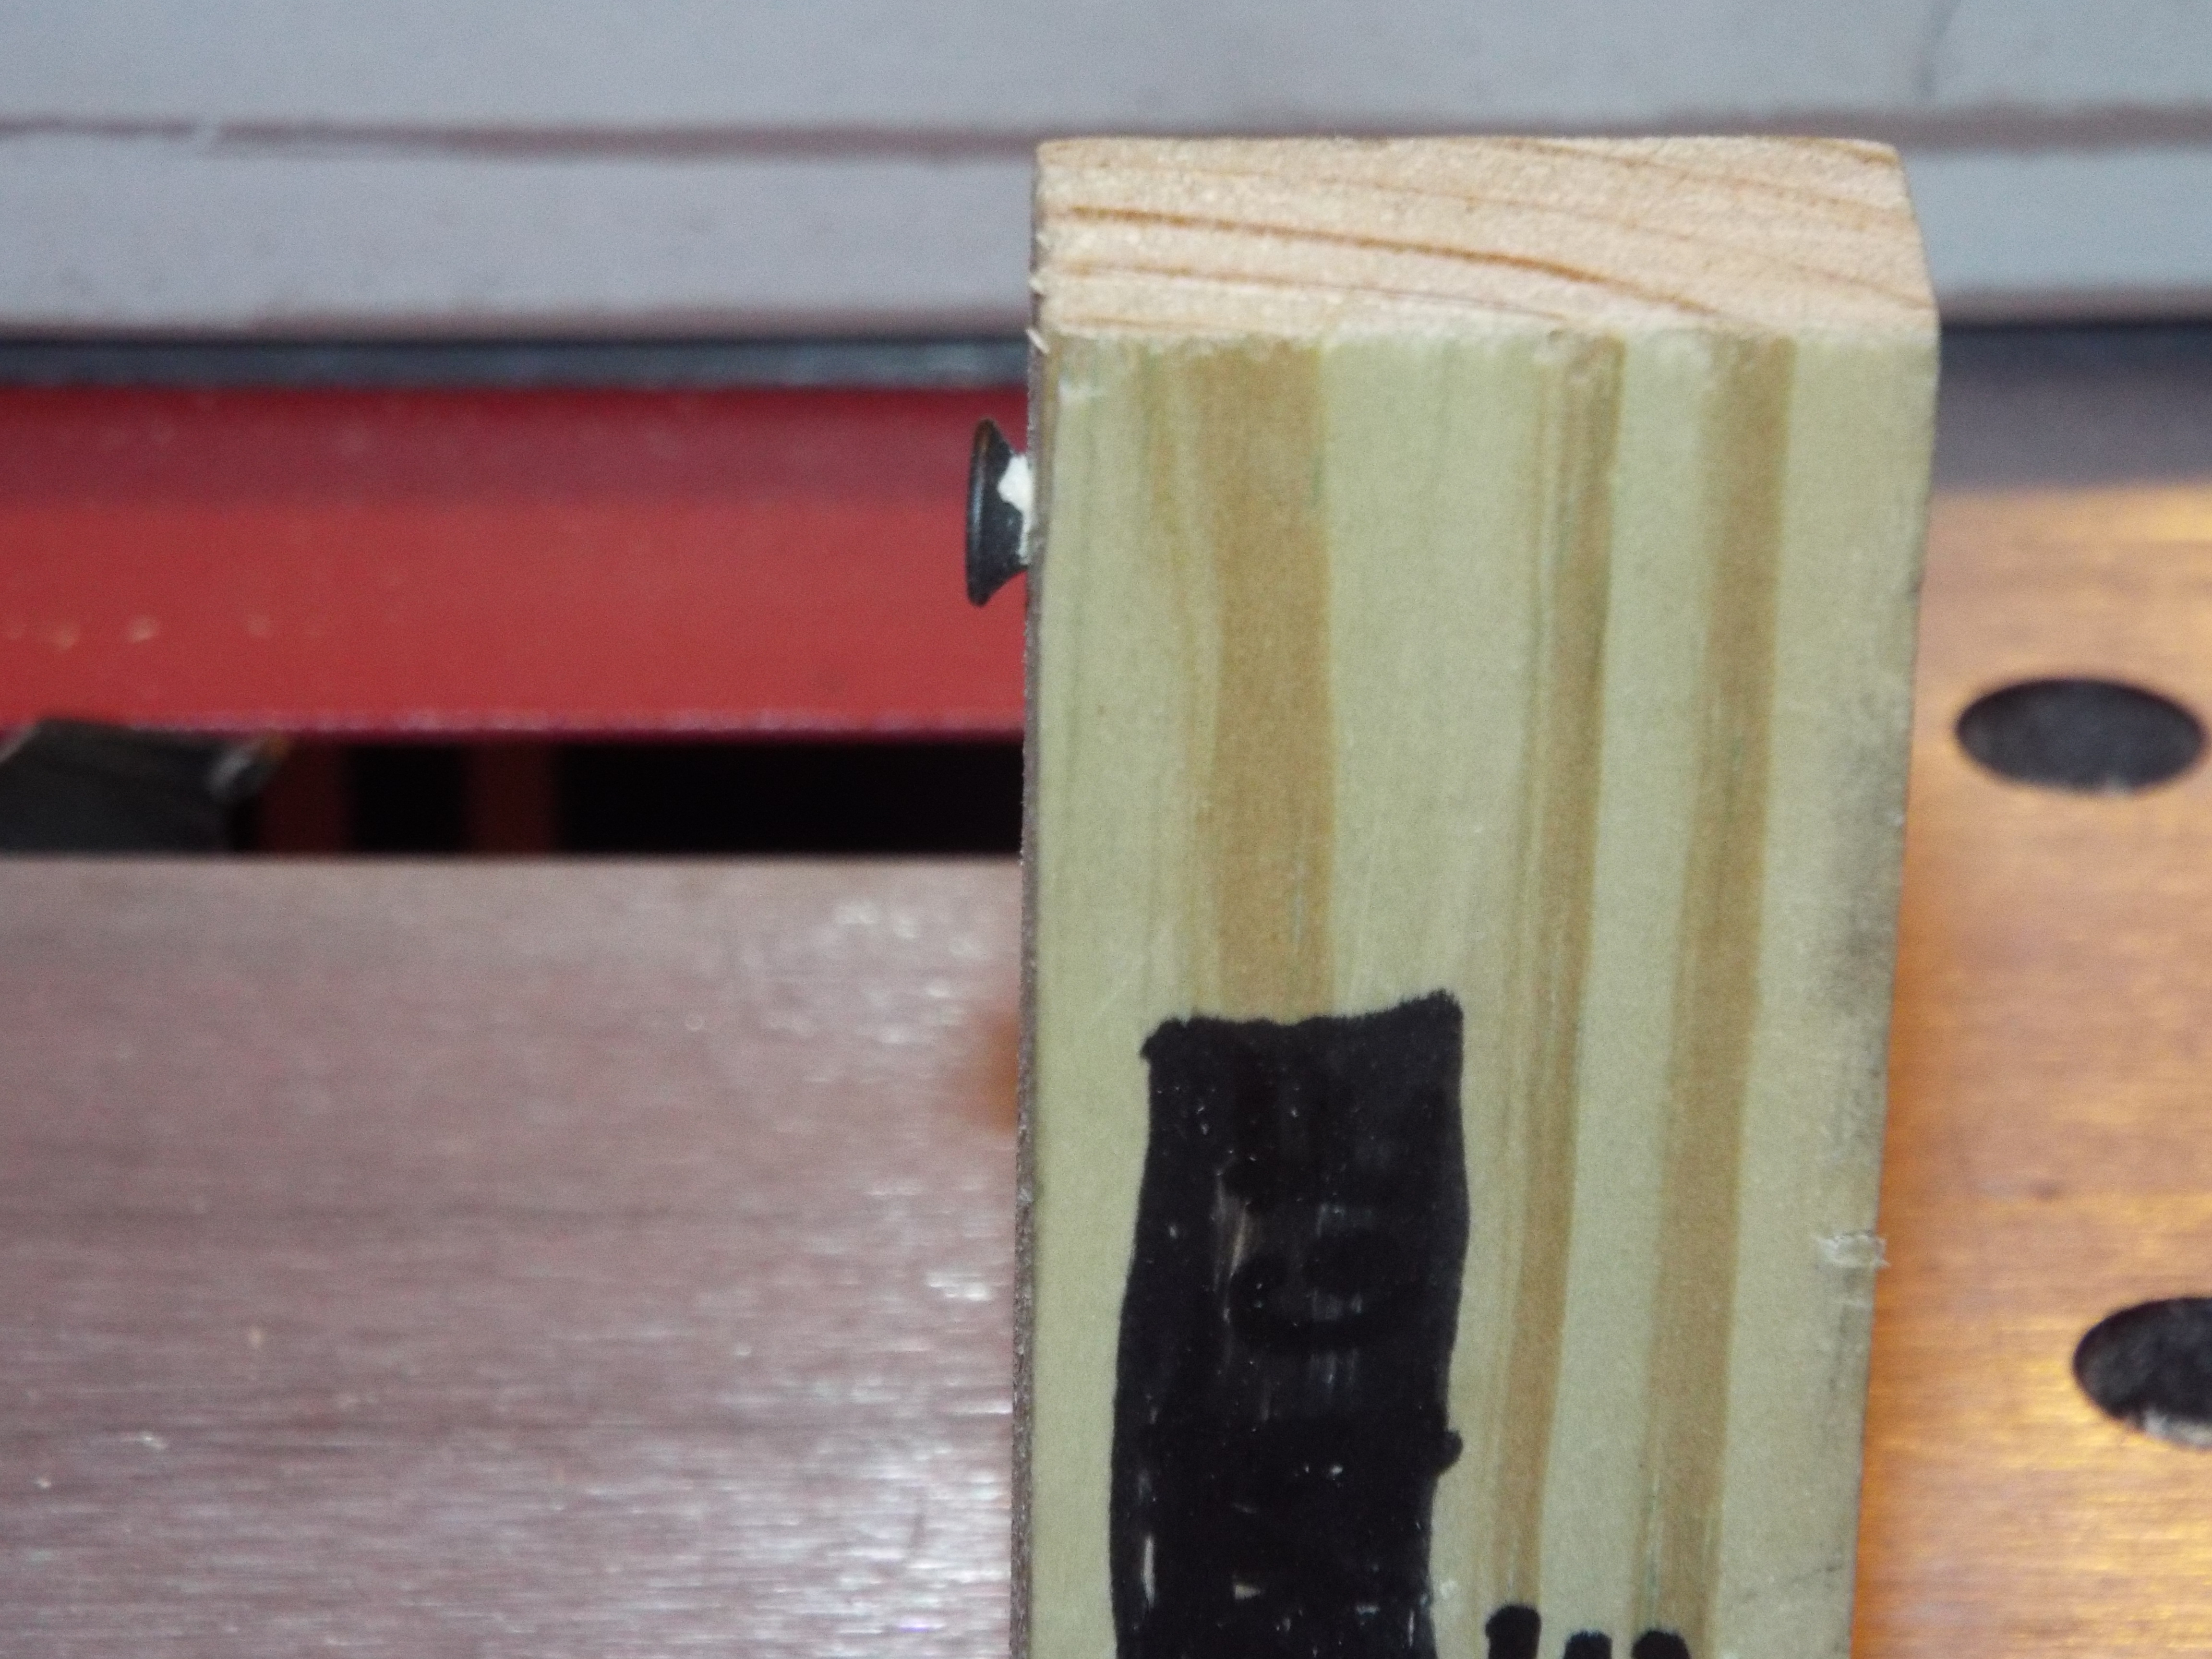
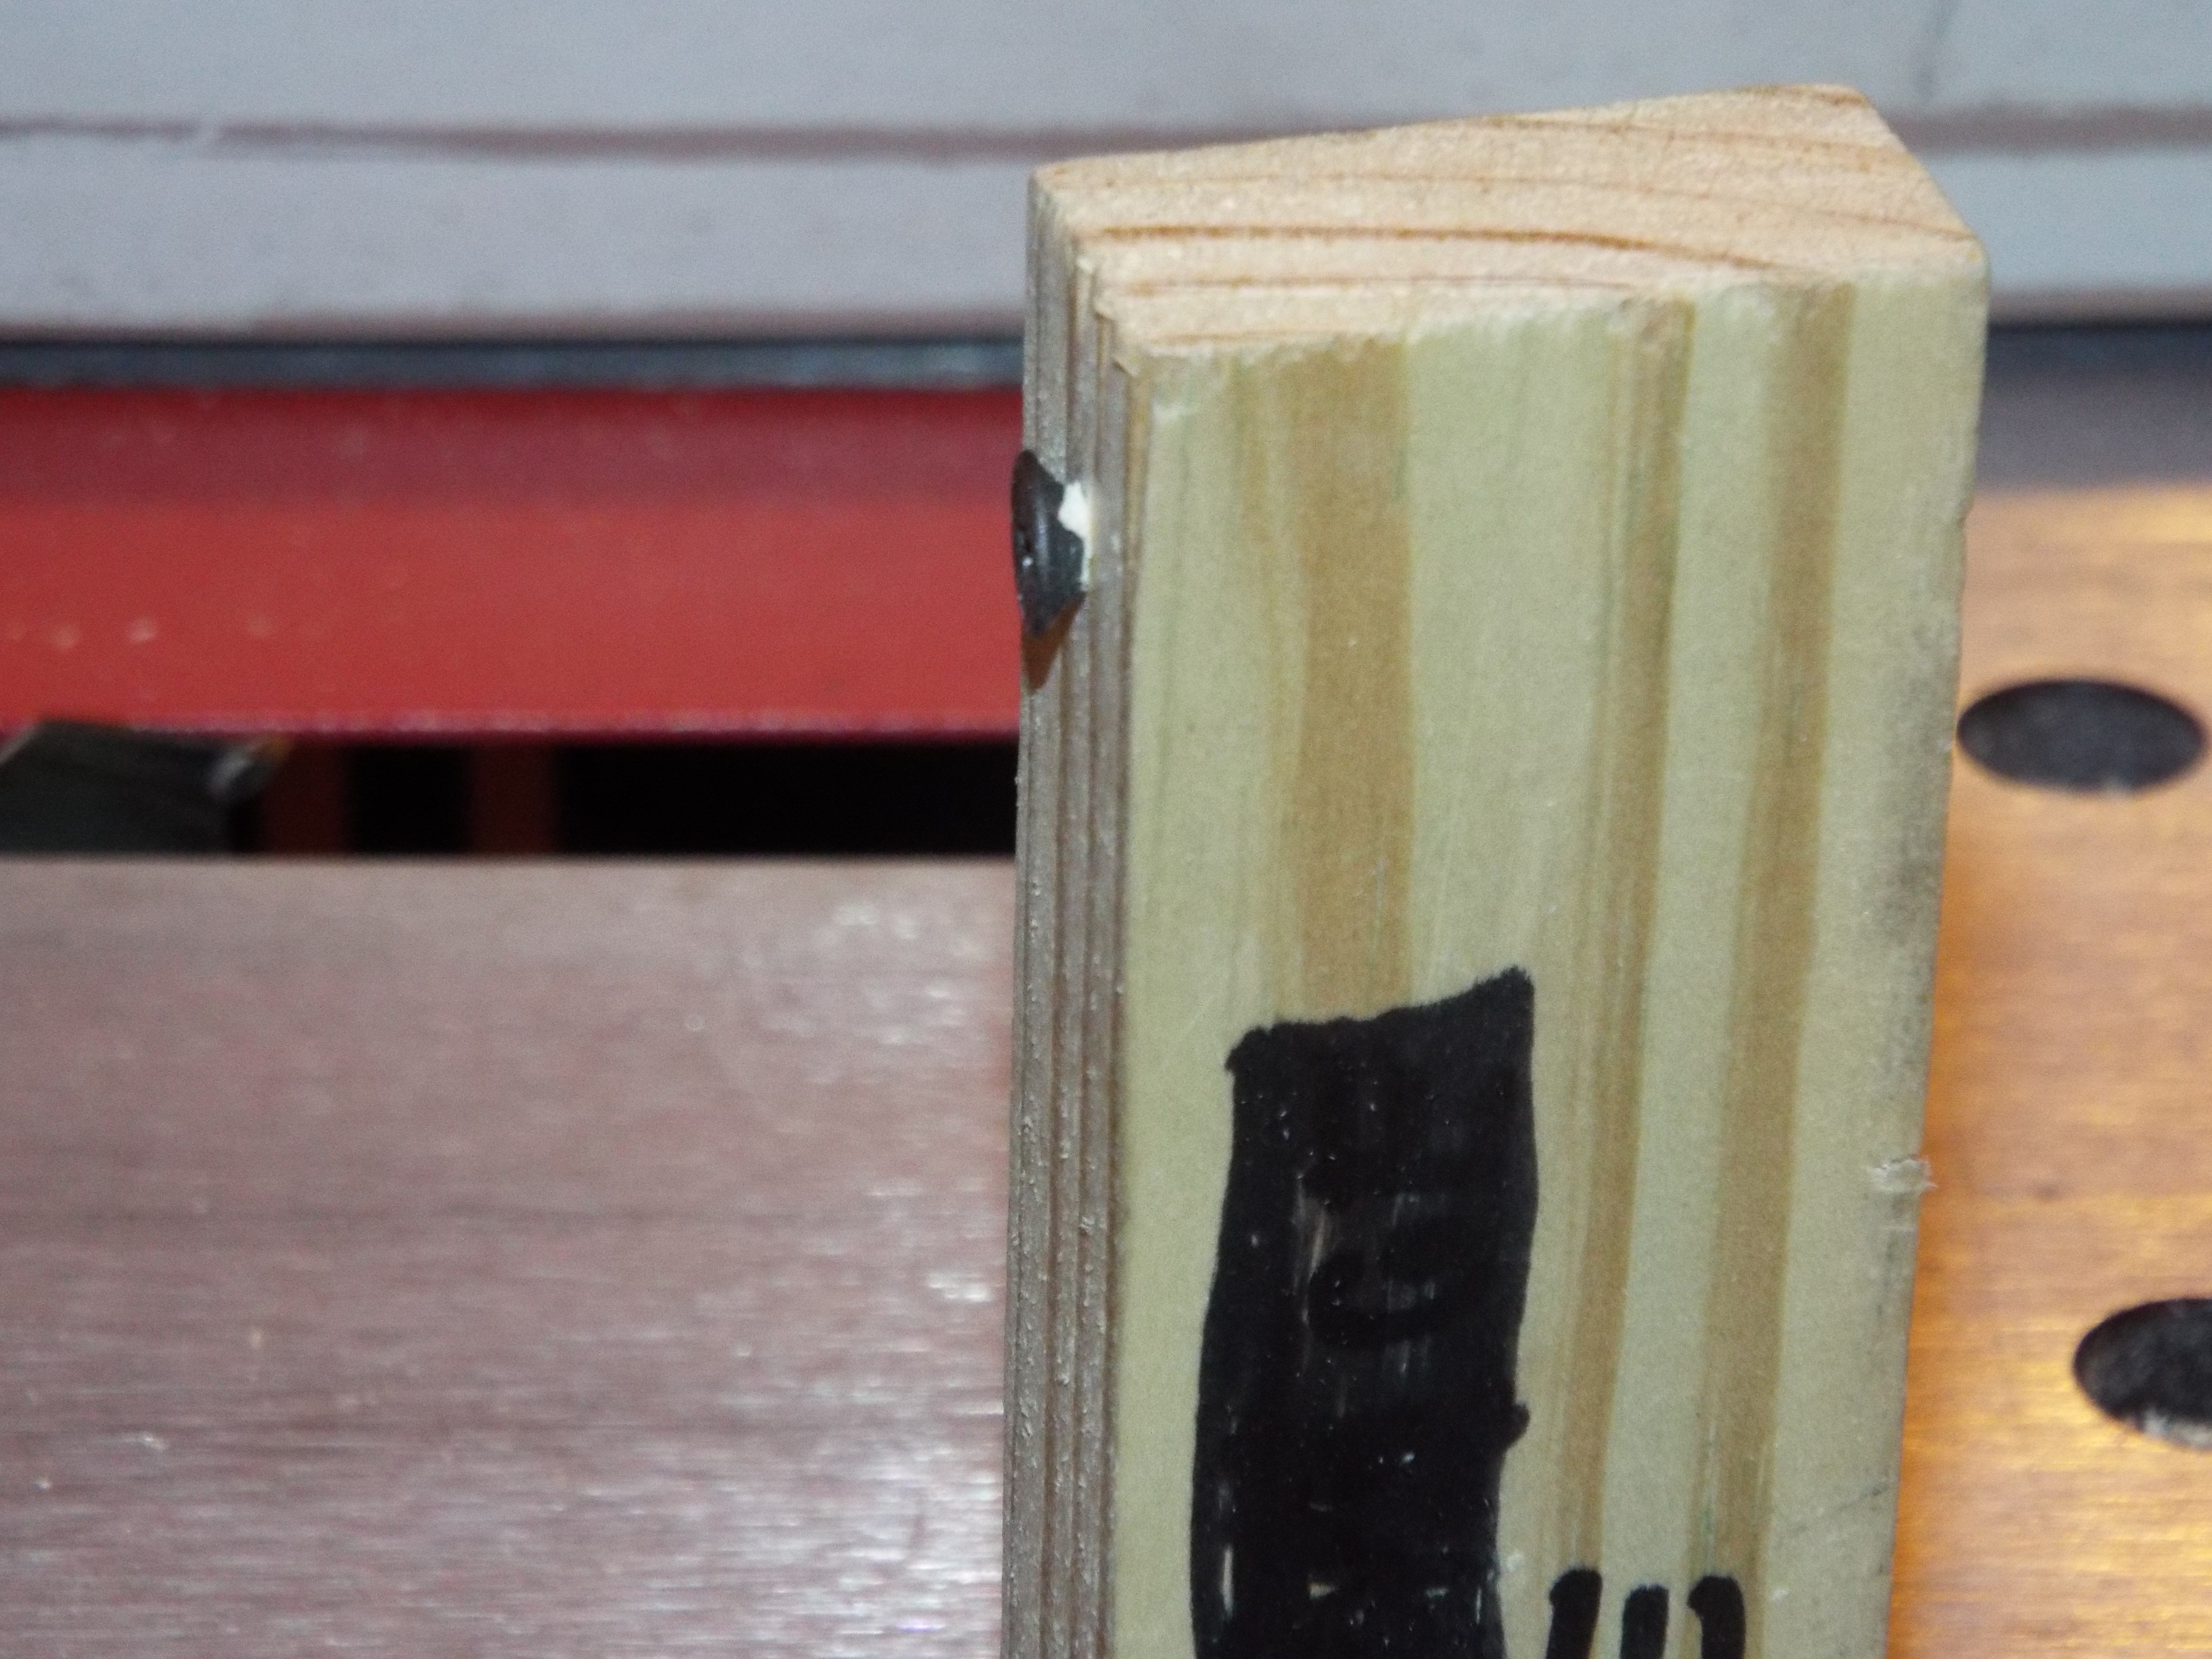
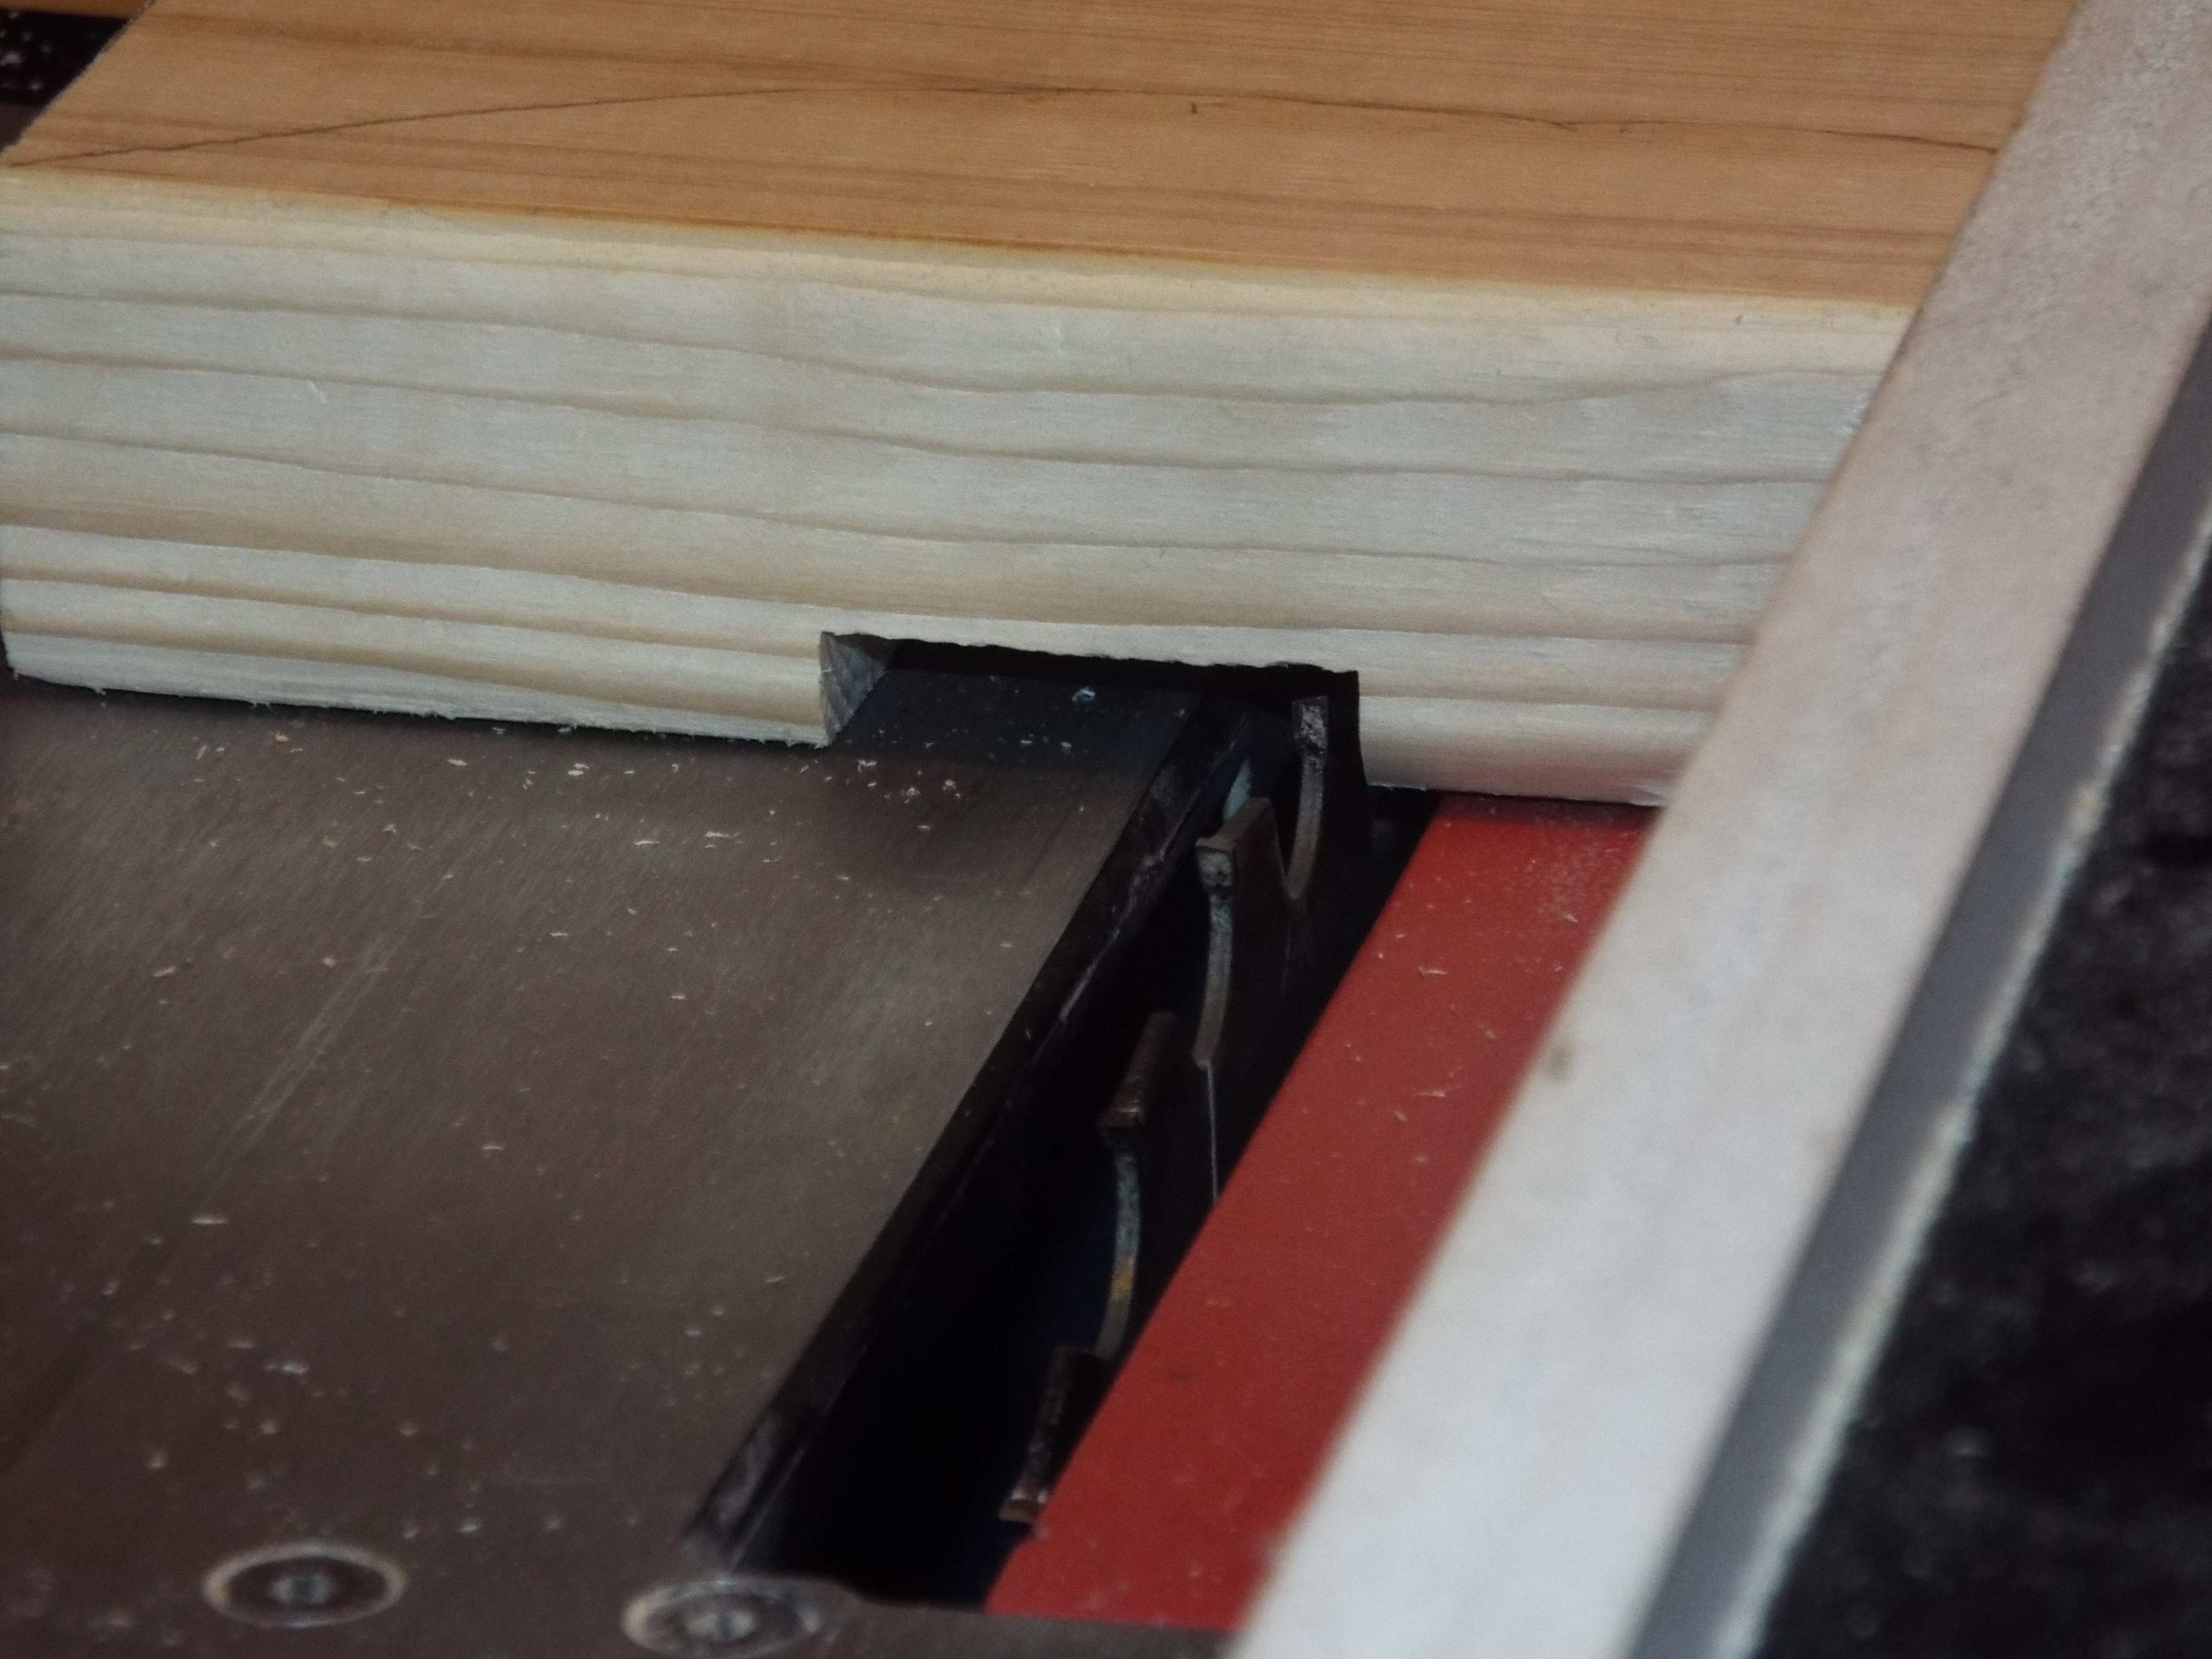
- Line up FAR side edge of groove marking just beyond far edge of blade
(this image shows a completed dado, but you'd line up the far layout line)

- Butt fence against piece to be grooved, and lock in fence
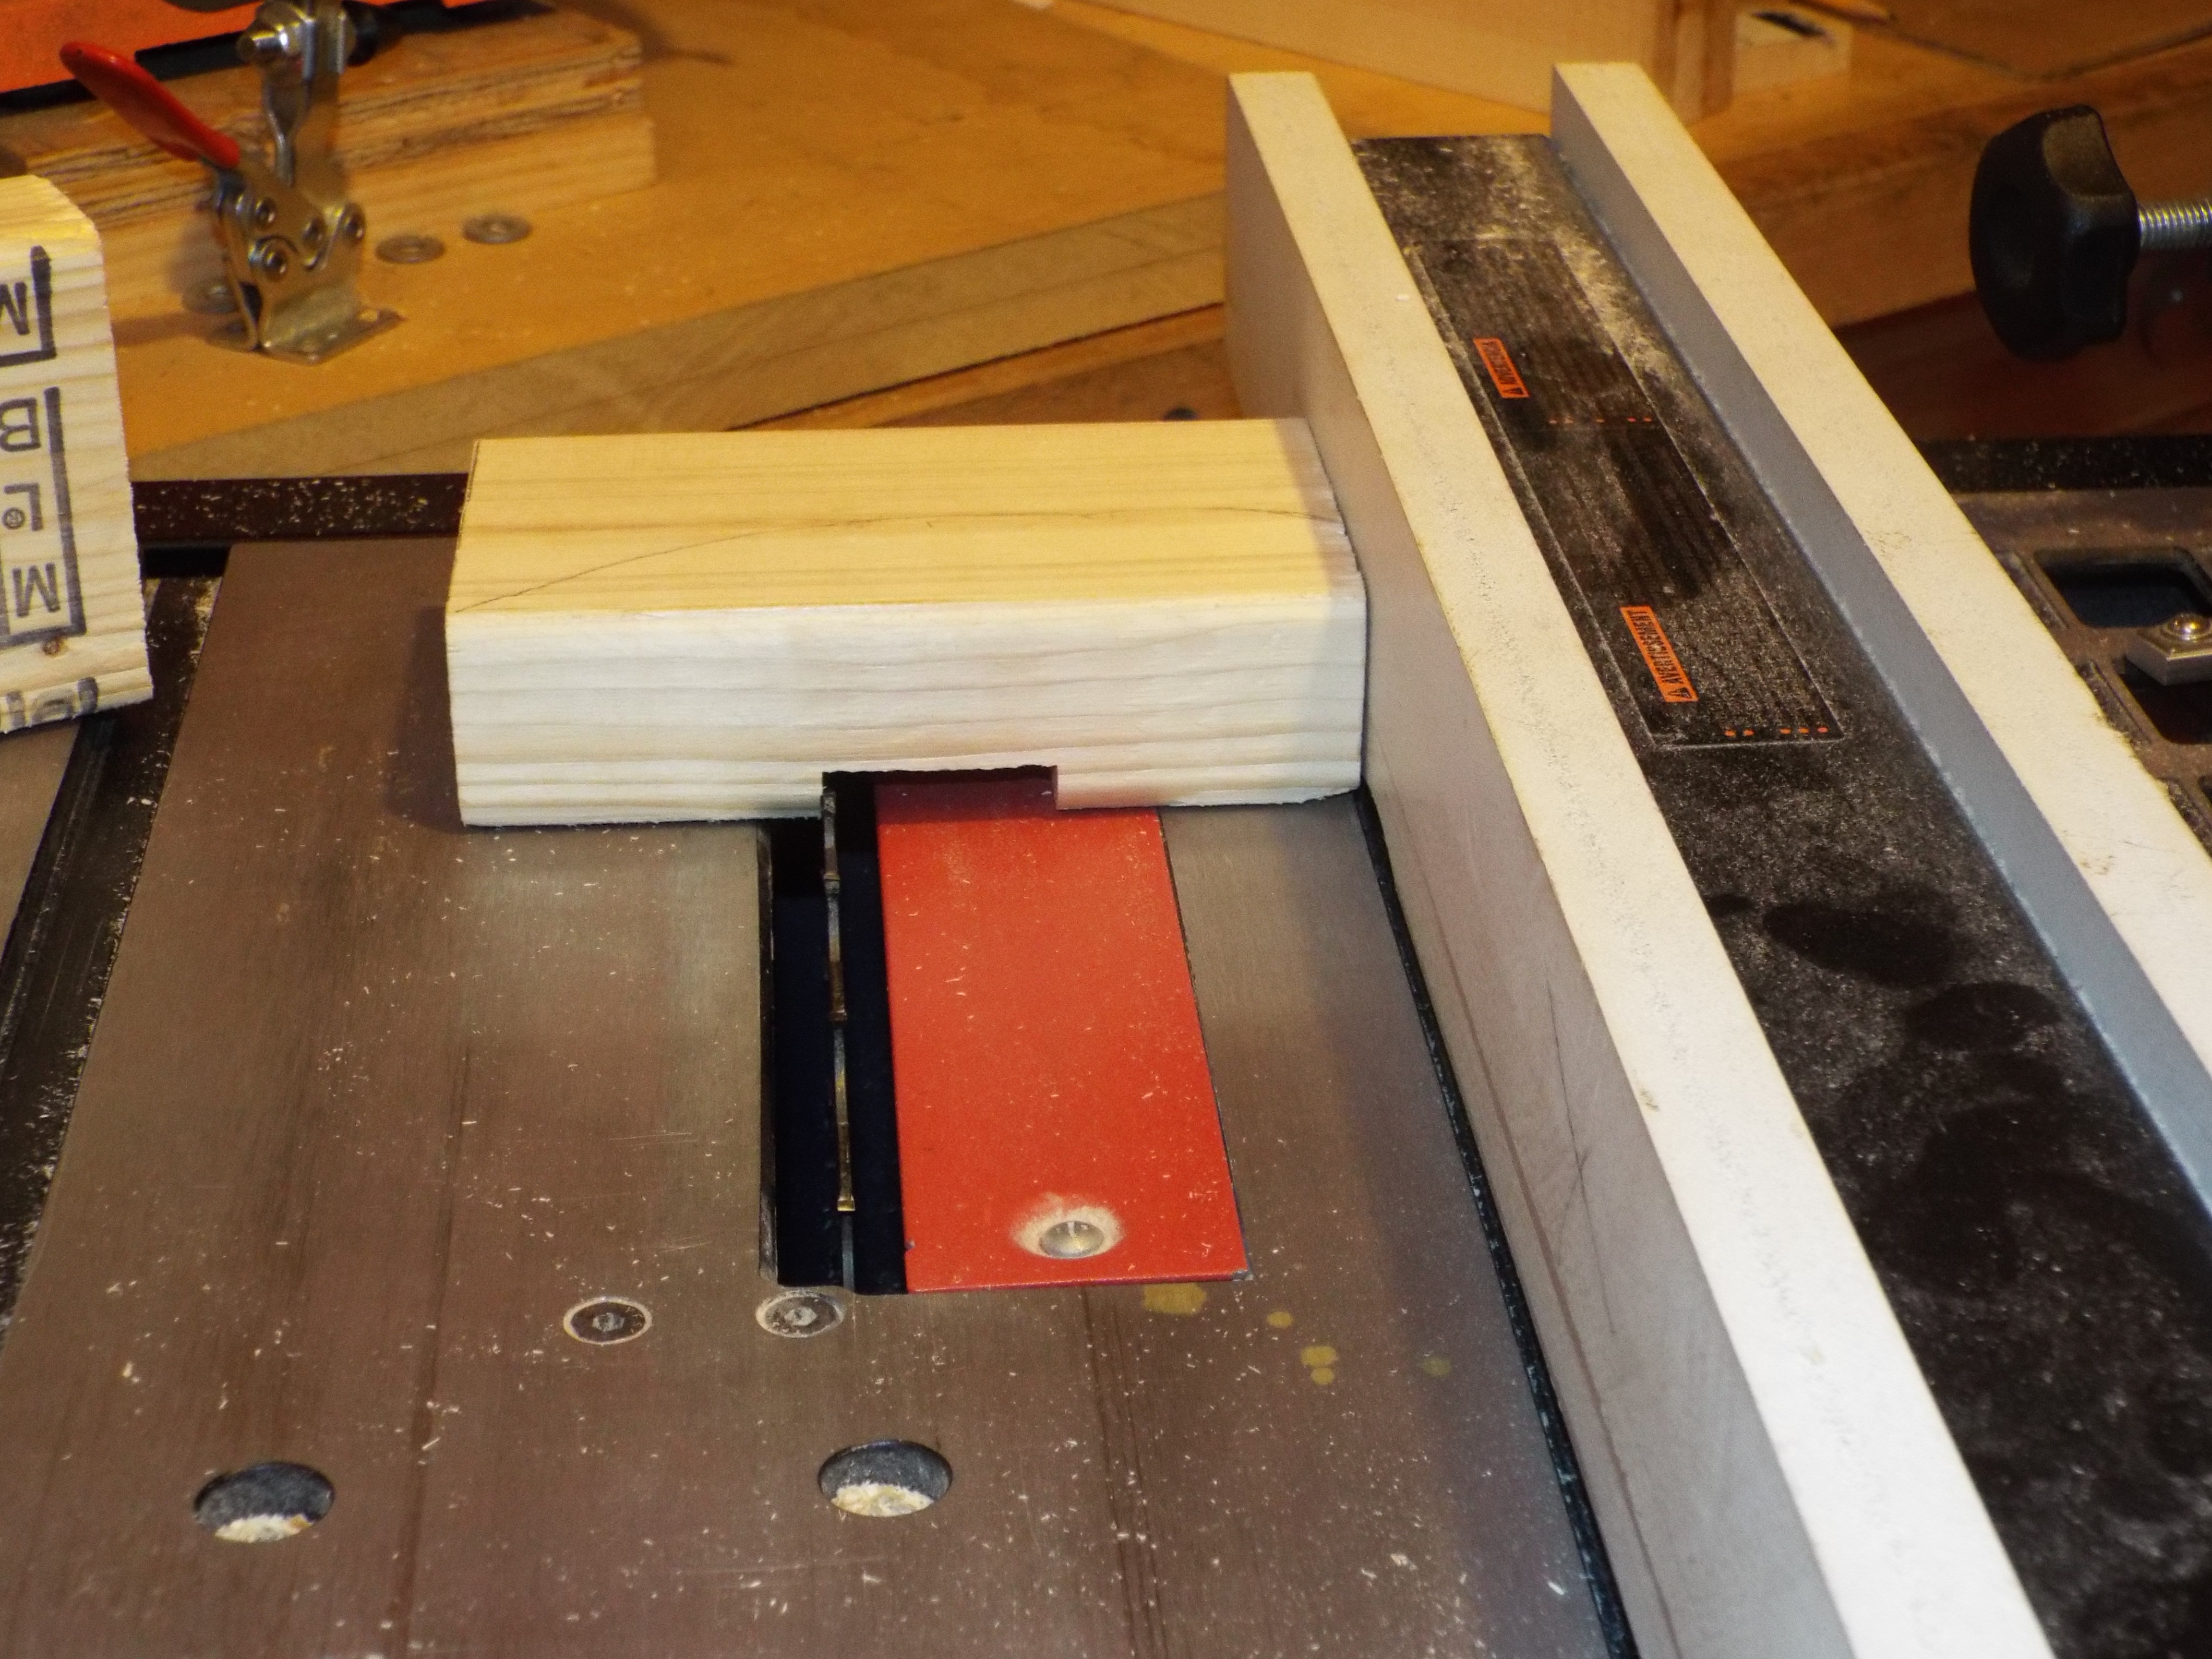
- Place SCREW SIDE of spacer jig against right side of fence, then place stop block against jig and clamp the stop block in place
- Cut one pass making FAR SIDE of groove
- Unlock fence and slide left a bit
- Flip spacer jig to NON-SCREW side, and butt against stop block
- Put piece that will fit into groove between fence and spacer jig
- Butt fence against piece that will fit into groove, and lock it down
- Cut near side of groove, then clean up in between with a few more cuts
- Make a few more passes to clean up the waste in the middle, and that's it !!
You should now have a nice, tight fitting joint
- If the dado is too wide, turn the screw OUT just a tad, if it's too narrow, turn the screw IN just a tad, then retry
- Once the screw depth is established, and the dado is the perfect size, the screw never has to be touched again, unless you mount a different blade, but I suggest you make one of these for each blade you typically use

Hope this helps somebody.
posted at: 9:01pm on 22-Dec-2016
path: /Woodworking/Techniques | permalink
comment...
| May 2024 |
|---|
| Sun |
Mon |
Tue |
Wed |
Thu |
Fri |
Sat |
| |
|
|
1 |
2 |
3 |
4 |
| 5 |
6 |
7 |
8 |
9 |
10 |
11 |
| 12 |
13 |
14 |
15 |
16 |
17 |
18 |
| 19 |
20 |
21 |
22 |
23 |
24 |
25 |
| 26 |
27 |
28 |
29 |
30 |
31 |
|
|
|