Here's what I to put together...
Now I know it looks sort of busy, and part of that is due to my jam packed shop, but let me go through all the pieces that make up this total compressed air solution, that I am VERY happy with, and maybe when I'm done, it'll inspire you to do something similar.
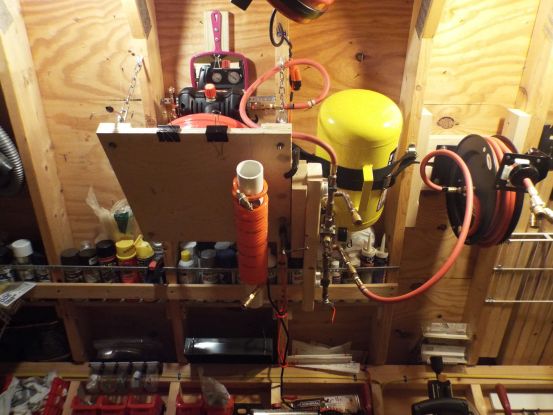
Let's start with the compressor platform...
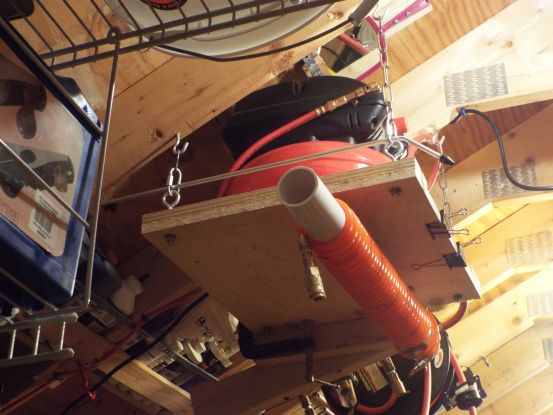
You can see the pivoting, 2" PVC coiled hose keeper that's mounted under the platform, the T-fitting I replaced the compressor's release valve with, and even the tilted arm the copper manifold is mounted to, but more on those later. The mirror mounted above the compressor allows me to see the gauges without having to climb up there.
Here's the platform before I hung it up, without anything on it...
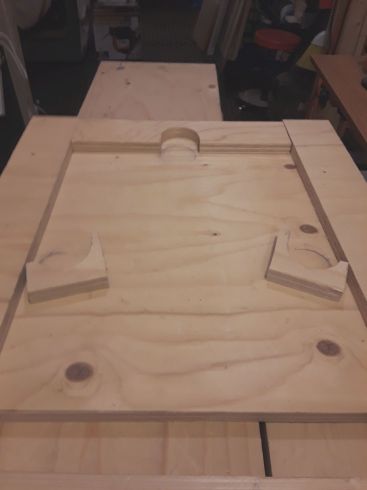
I put cleats on three sides, and glued those small, angled cleats in place too.
The compressor's front foot rests in the half-circle drilled into the front cleat, and its back two feet rest in the half-circles drilled into those two angled back cleats.
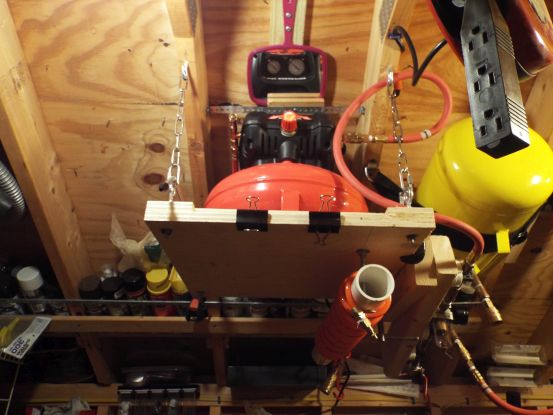
The cleats serve to keep the compressor in place, during any vibration while it's running. But as it turns out, there's actually very little vibration, and I think it's because the platform is hanging from chains, and that might dampen most of the vibration, along with the compressor's rubber feet.
The platform is hanging from the angled ceiling joists of my workshop, so it's pretty clear the stainless steel chains had to be shorter in the back than in the front, so as to level the platform.
Part 3 in a few days...