XPanel: The First Open Source Panel Saw Jig - Part 1
I'm an IT guy, so I'm very familiar with the concept of open source software, and I love the idea. So, here's my contribution to the relatively new open source "hardware" movement.
One of the most frustrating and difficult things to do in a home shop, is breaking down full 4'x8' sheet stock panels, or large cutoffs of sheet stock, into smaller project pieces.
I've priced the ready made prefabricated panel saws that can be found online, and they're way out of range for most home shops (certainly mine) and I've wrestled with taking on one of the many DIY versions to be found online as well, but even the kits for them are expensive, and the work involved in a version built from scratch with plans is daunting.
The whole time I've been looking around for some sort of panel sawing solution, I've always thought if I had it my way, I'd want something that satisfied what I considered to be several important requirements for hobbyist woodworkers, as follows:
- it must be makeable from inexpensive (i.e. cheap), readily available materials
- it must be quickly assembled and disassembled for storage
- it must not take up much room, whether assembled or stored
- it must go together without permanent fasteners, so as to make it easy to swap out worn pieces (clamps or notches are the preferred methods of fastening for sacrificial pieces)
- pieces that won't ever be cut into, can have permanent fasteners and extensions attached
- occasionally used add-on or attachment pieces, can have permanent fasteners and extensions attached
- it must be functionally flexible and easily modified
So while surfing around one night looking for yet another panel sawing suggestion, I stumbled upon something I thought might be a solution
for my home shop. It was nothing more than just a cheap pair of 2"x4"x8' studs, assembled in an "X" pattern, and fastened together using angled notches in the center edge of each stud. It could be placed on the floor, and it could support even a full 4'x8' sheet of anything for cutting. The idea was to set the blade as high as possible while still cutting through the material, but scoring the supporting X'd 2by's as little as possible.
This idea was good, and it satisfied some of my requirements, but it lacked something to make it a great idea.
Take a look at what I call the XPanel jig. I refer to it as a jig rather than a panel saw, because it behaves and is used much more as a jig is used. Here are pictures with and without an almost full-size sheet on the jig (ignore the incredible amount of junk around it.)
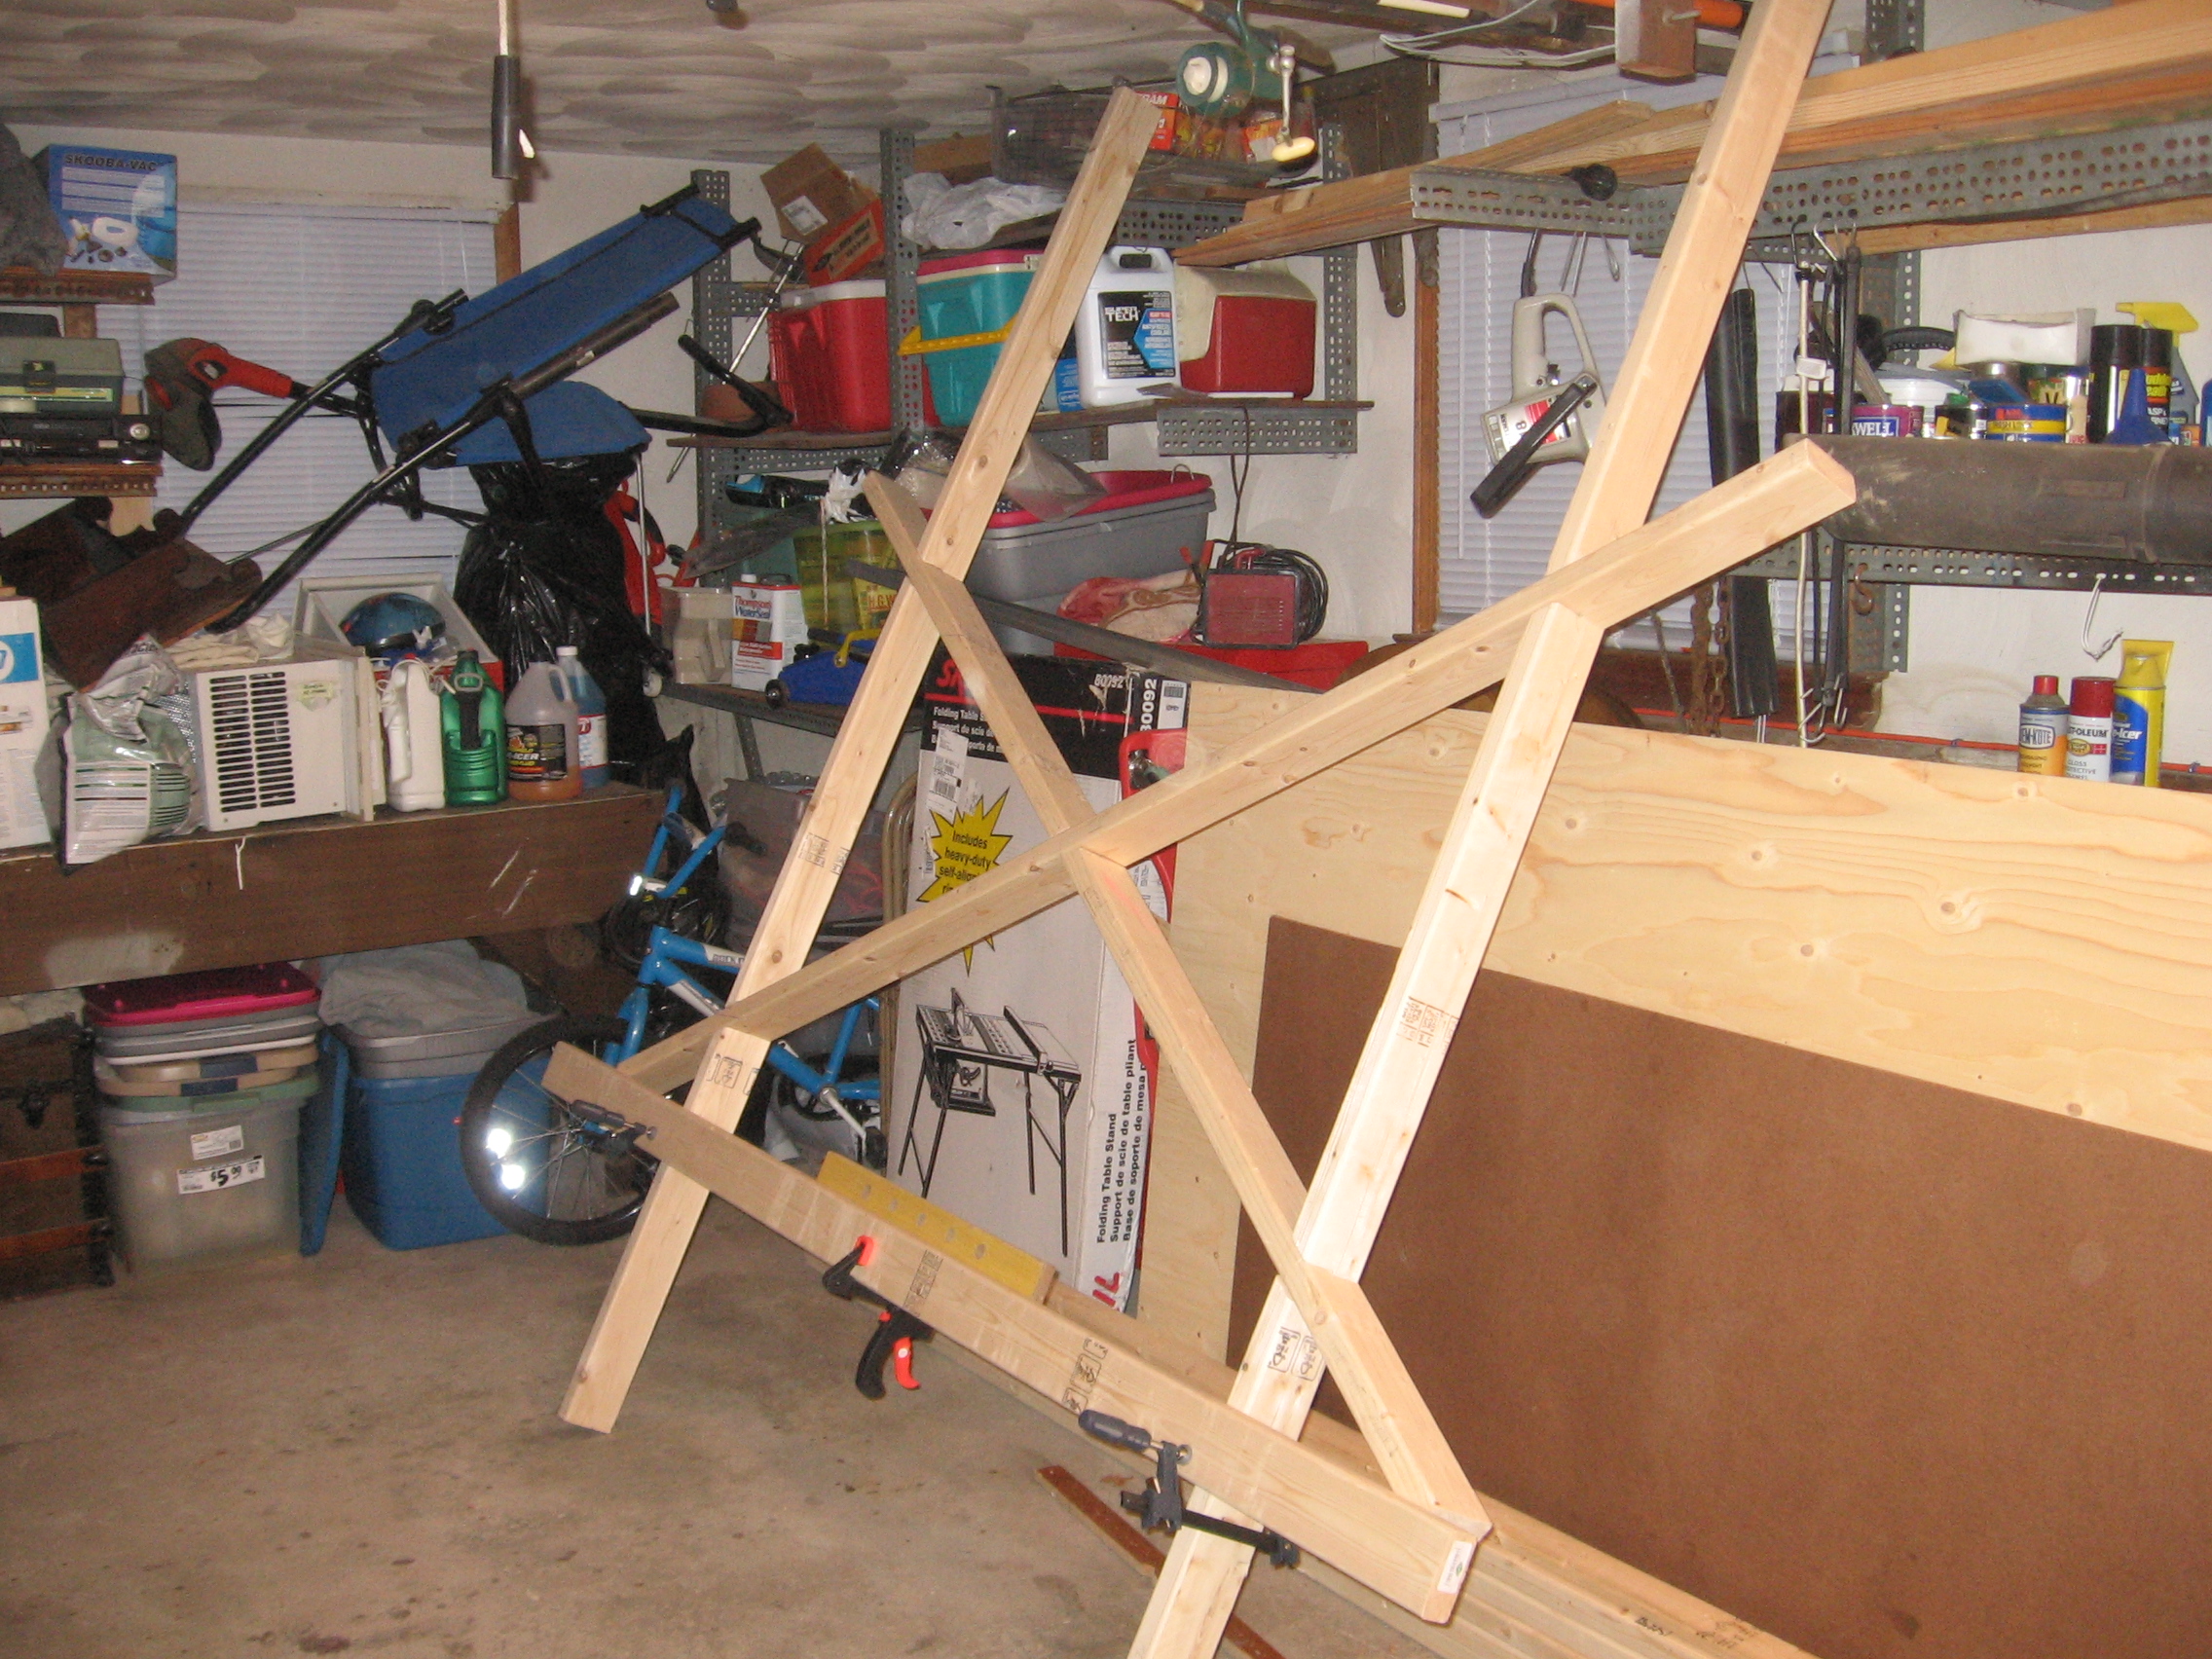
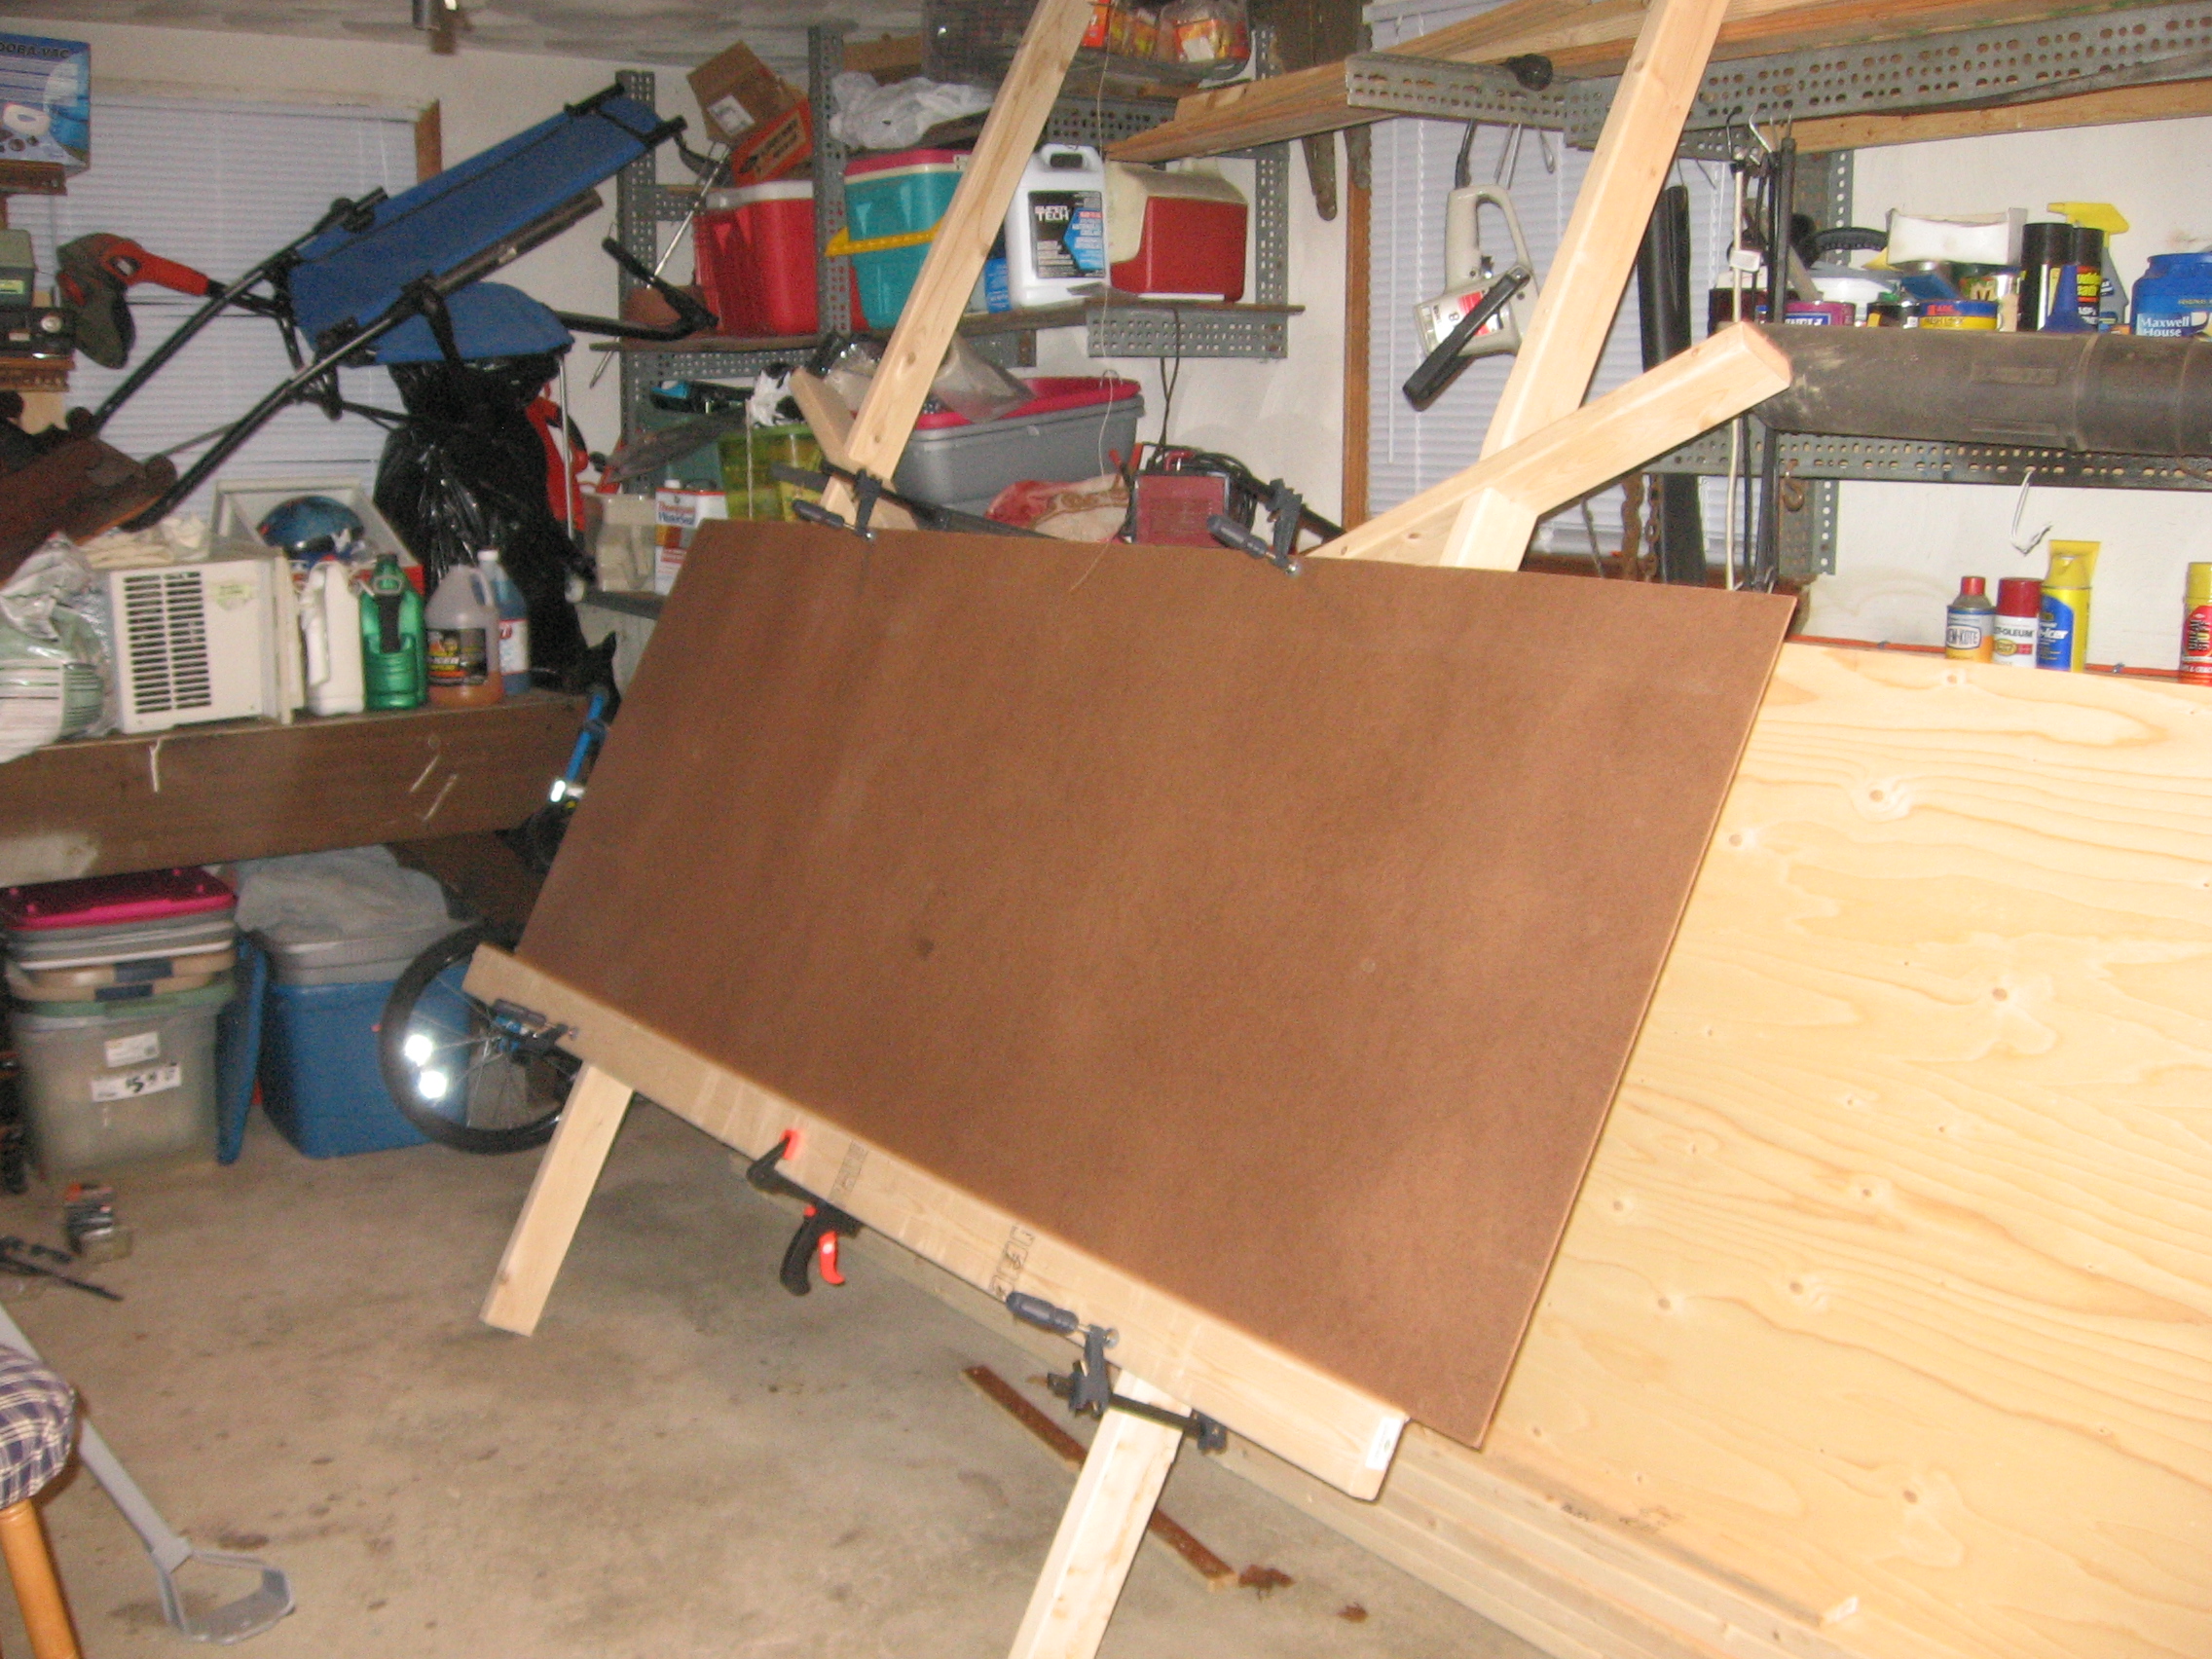
My addition of the vertical studs on each side has made it so the jig can be placed against a wall, and used similar to the way a "real" panel saw is used, and it all goes together and comes apart quickly, and by way of the angled notches, without the use of permanent fasteners. And the addition of a clamped deck rail makes it so a panel can be loaded onto the jig easily, without adding a permanent part to the jig. Here are pics of the angled notches for the vertical members.
IMAGE(S) TO COME
Here's the link to the original "X" jig page again.
I also made three different size circular saw guides, similar to the popular version(s) found on woodworking sites around the internet. Here they are:
IMAGE(S) TO COME
Here is the jig with various size sheets, and with the guides in place:
IMAGE(S) TO COME
The ultimate advantage of this jig is this... EVERY CUT IS PERFORMED HORIZONTALLY, allowing gravity to do most of the work, and eliminating the need for any sort of counterweight system to support the saw during vertical cuts. Here's a picture of how that's accomplished:
IMAGE(S) TO COME
In keeping with the open source concept of this jig, it's flexibility is only limited by your imagination, and my original requirements. I'll be posting pics of some of the compliant "plug-ins" (i.e add-ons and attachments), I've come up with to make the jig even sweeter.
And by all means, if you can think of anything to make the jig even more useful, feel free to comment or ask questions, and of course, I encourage you to make and use the jig and see for yourself how this incredibly simple design just may solve your panel cutting needs at a fraction of the cost of other solutions.
MORE TO FOLLOW...
posted at: 4:31pm on 04-May-2020
path: /Woodworking/Projects | permalink | edit (requires password)
Bit of neighborhood whimsie
Furnished content.
(from Lumberjocks.com)
 Like a lot of places I'm sure there seem to be more people walking around the neighborhood as of late. Our local school has had a few things to encourage people to do scavenger hunts and other things such as stuff animal zoos where people put animals in the windows so parents and kids can go for a walk and look for them. Like a lot of places I'm sure there seem to be more people walking around the neighborhood as of late. Our local school has had a few things to encourage people to do scavenger hunts and other things such as stuff animal zoos where people put animals in the windows so parents and kids can go for a walk and look for them.
I have been playing more with my bandsaw and decided to make a few things to stick around the yard for passersby to notice. Everything was cut out of scraps that I was planning to throw away anyway. The squirrel is out of 2×10 so it can stand on its own. The rest are just plywood.Hope you can get out to the shop and have a little fun.CtL
Read more here
posted at: 12:00am on 04-May-2020
path: /Woodworking | permalink | edit (requires password)
Small Picture Frames
Furnished content.
(from Lumberjocks.com)
 I took another one of Steve Good's patterns but reduced the size to match what stock I had to make these picture frames. They will hold 3.5” x 5” photos instead of the 4”x6” he originally called for and are made from curly red oak. These five are for my two daughters, two of my great-nieces, and my cousin's granddaughter. Although I originally made these just because, my eldest will turn 22 tomorrow and so the one set up for landscape pictures is her birthday gift. The four dark ones have a black cherry stain with a lacquer finish while the light colored frame has just lacquer on it (that great-niece said she wanted a light colored object – still not knowing what). I took another one of Steve Good's patterns but reduced the size to match what stock I had to make these picture frames. They will hold 3.5” x 5” photos instead of the 4”x6” he originally called for and are made from curly red oak. These five are for my two daughters, two of my great-nieces, and my cousin's granddaughter. Although I originally made these just because, my eldest will turn 22 tomorrow and so the one set up for landscape pictures is her birthday gift. The four dark ones have a black cherry stain with a lacquer finish while the light colored frame has just lacquer on it (that great-niece said she wanted a light colored object – still not knowing what).
Read more here
posted at: 12:00am on 04-May-2020
path: /Woodworking | permalink | edit (requires password)
Segmented Urn
Furnished content.
(from Lumberjocks.com)
 A segmented urn … Bloodwood, Ebony, and Maple.This urn is 7-1/2 inches tall, 5 inches in diameter, and consists of 165 pieces of wood. The threaded inserts are s resin-stabilized maple. A segmented urn … Bloodwood, Ebony, and Maple.This urn is 7-1/2 inches tall, 5 inches in diameter, and consists of 165 pieces of wood. The threaded inserts are s resin-stabilized maple.
Read more here
posted at: 12:00am on 04-May-2020
path: /Woodworking | permalink | edit (requires password)
Promoted by Feed Shark
|
|